Description
This article will quickly teach you how to Save and Retrieve your custom reports in the Info Manager module.
Step-by-Step

Saving Reports:
Saving reports to the Info Manager is quite simple.
- Right click the results area, the white grid constituting the lower half of the module window.
- Choose Save Report or Save Report As. The former will not be available until the report is saved at least once.
- Fill in the Description and Comment boxes at the bottom.
- Press Ok to dismiss the window.
The report is now saved in the Custom button; check to confirm your report has saved properly.
Retrieving Reports:
The Info Manager will save reports under the original Tab and Category they were created. This helps organize your saved reports, compiling them under the relevant Tabs and Categories instead of pooling them into one list.
- Select the appropriate Tab.
- Select the appropriate Category.
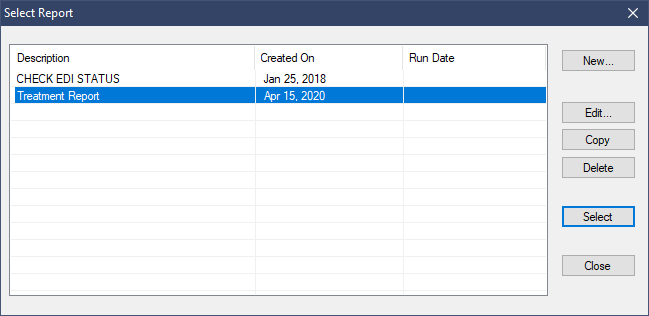
- Select the Custom button on the right.
- Highlight the report you want to retrieve.
- Press Select.
The report will load exactly as it was saved. The columns with conditions set will be prefixed with a double asterisk (**), so left click and edit those columns if you wish to alter your results.
To clarify, if a report is created under the Billing tab and Treatments category, as above, then saved, the report will only be accessible in the Custom button if we are on the very same Tab and Category; you will not find this report in the Custom Button under any other Tab or Category.
Additional Resources
