Description
The Document Manager is an electronic file folder which can hold various types of documents for each patient. Organize, password protect, and add files directly from your computer or your scanner.
Step-by-Step
Make sure you have the correct patient selected before proceeding.
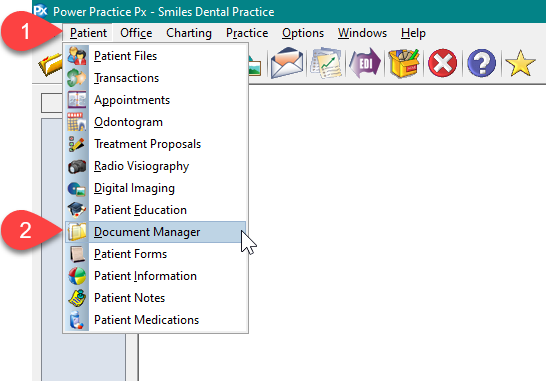
- Go to the Patient menu.
- Select Document Manager.
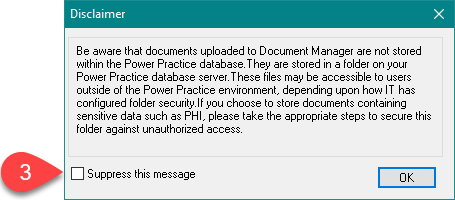
A Disclaimer regarding PHI protection may display on your screen. Please read to understand and take the proper pre-cautions to protect your patients’ personal health information.
- An option to Suppress the message is available. Press OK to continue to the Document Manager.
To scan a file to the Document Manager
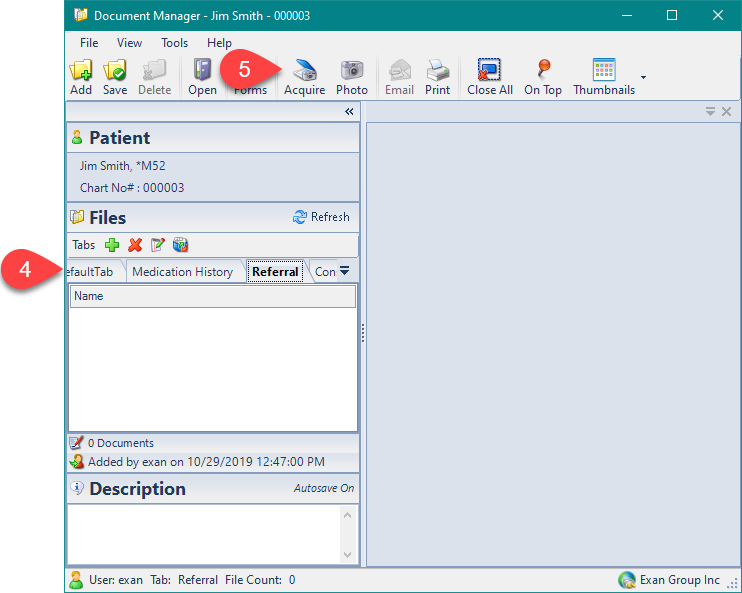
- Open the tab to place the scanned document in.
- Click the Acquire button.
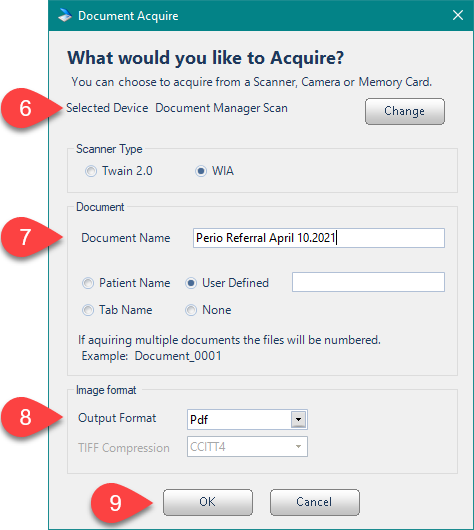
- Confirm the scanner or Change to switch to the correct device.
- Type the Document Name.
- Confirm file type, we suggest PDF.
- Press OK.
Your scanner’s software screen will display, follow any prompts and proceed with the scan. Your scanned document will now be in the Document Manager as a PDF file. Double click to open it.
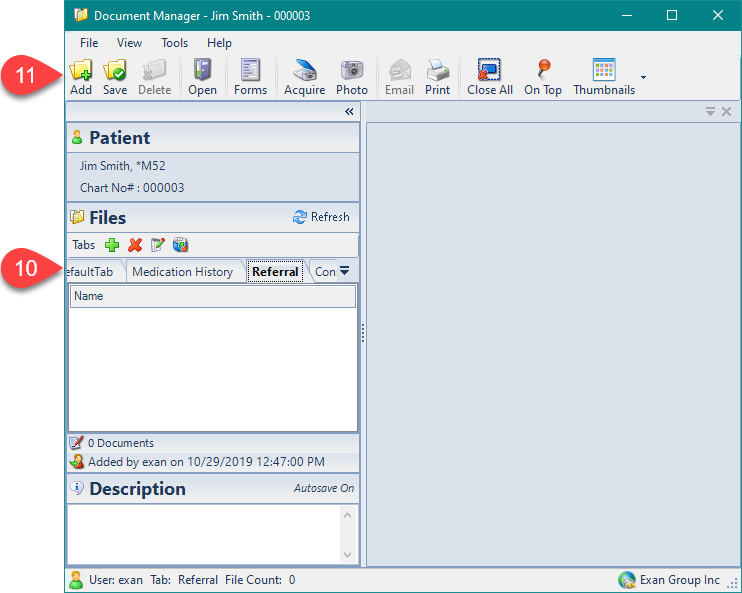
To add a saved document from your computer
- Open the tab to place the document in.
- Click Add.
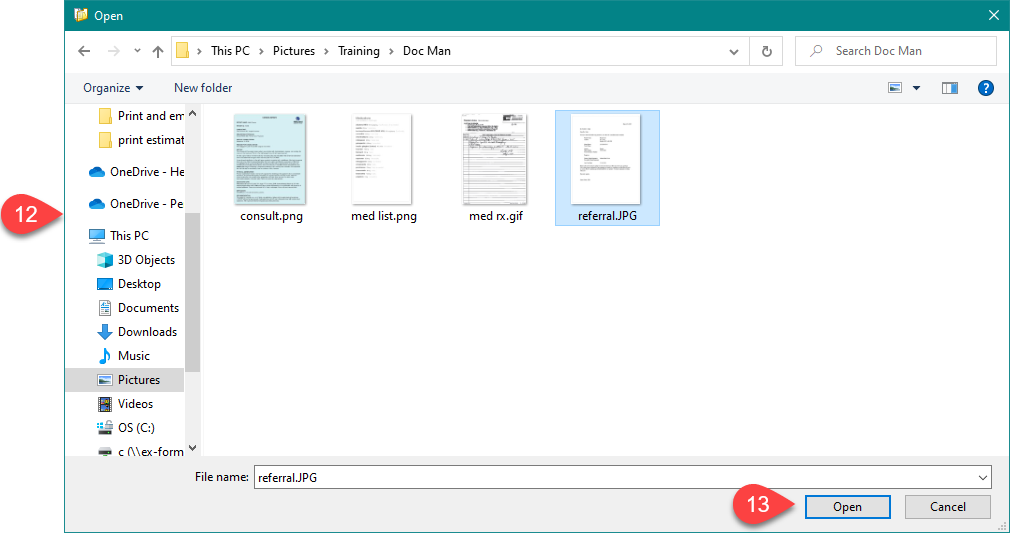
- Locate the document in your computer.
- Click Open.
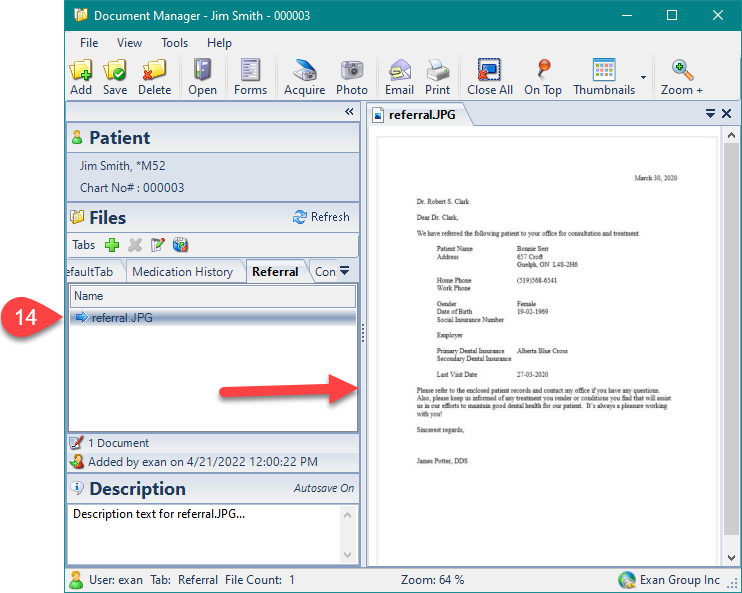
- The document will now be in the Document Manager. Double click the file to view it.
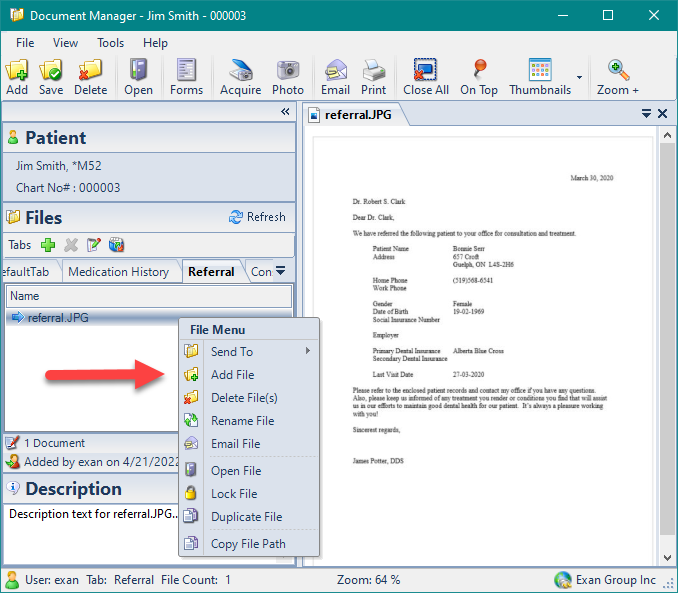
Additional – Right Click Menu
Right click on a document for more options such as:
– Send To – send the document to a different tab within the Document Manager
– Rename File – rename the document in Document Manager only
– Email – email the file using Microsoft Outlook
– Lock File – prevents the document from being deleted
Additional Resources
