Description
This article will guide you through setting up a patient Ortho plan.
Step-by-Step
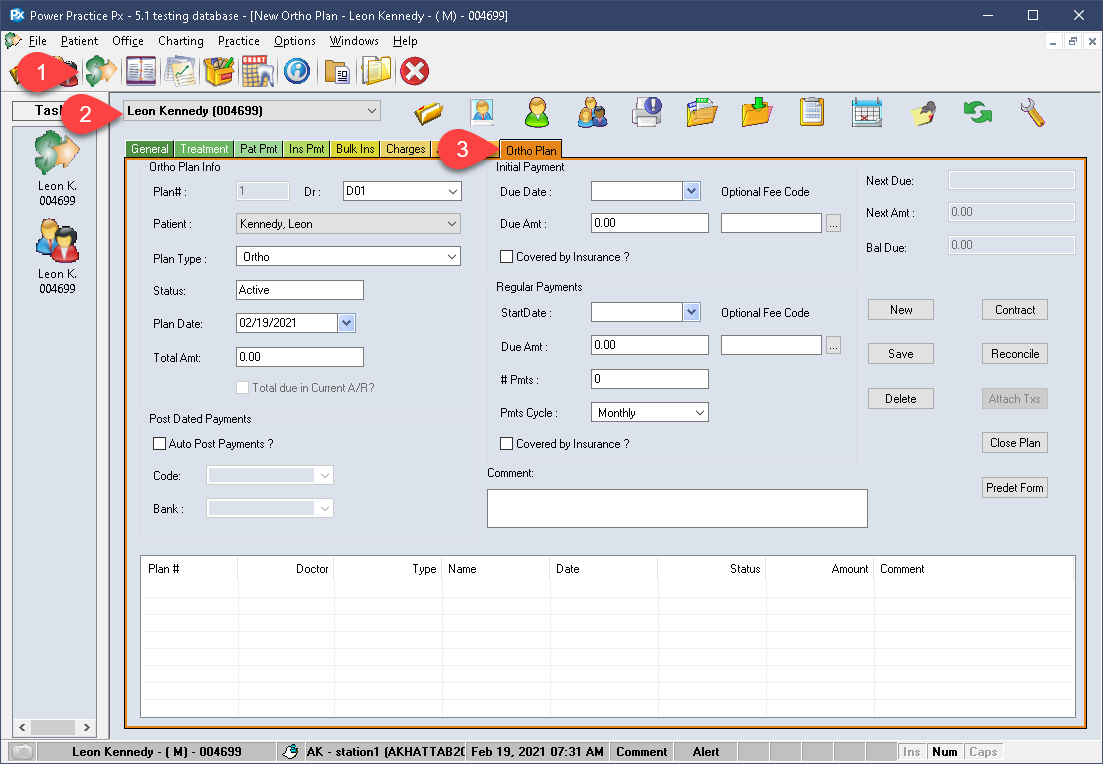
- Visit the Transactions module.
- Activate the patient file.
- Select the Ortho tab.
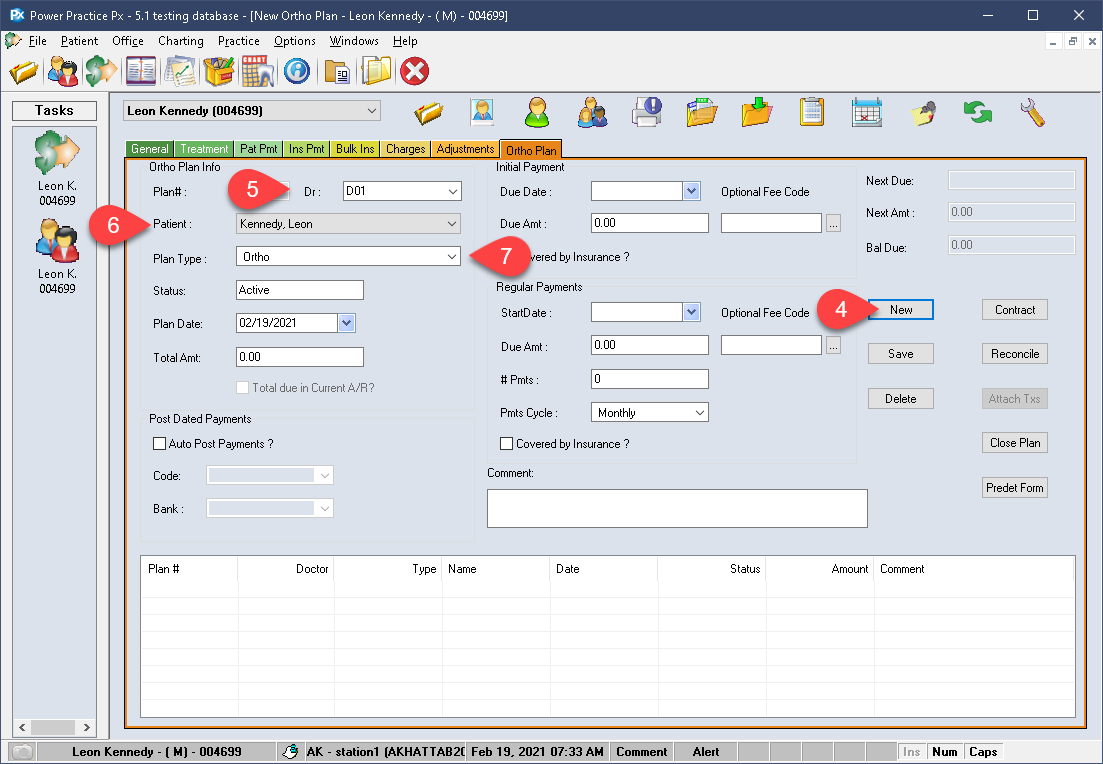
- Select New on the right side of the window.
- Select the plan Dr.
- Double check your patient selection in the dropdown.
- Set the plan type to Ortho.
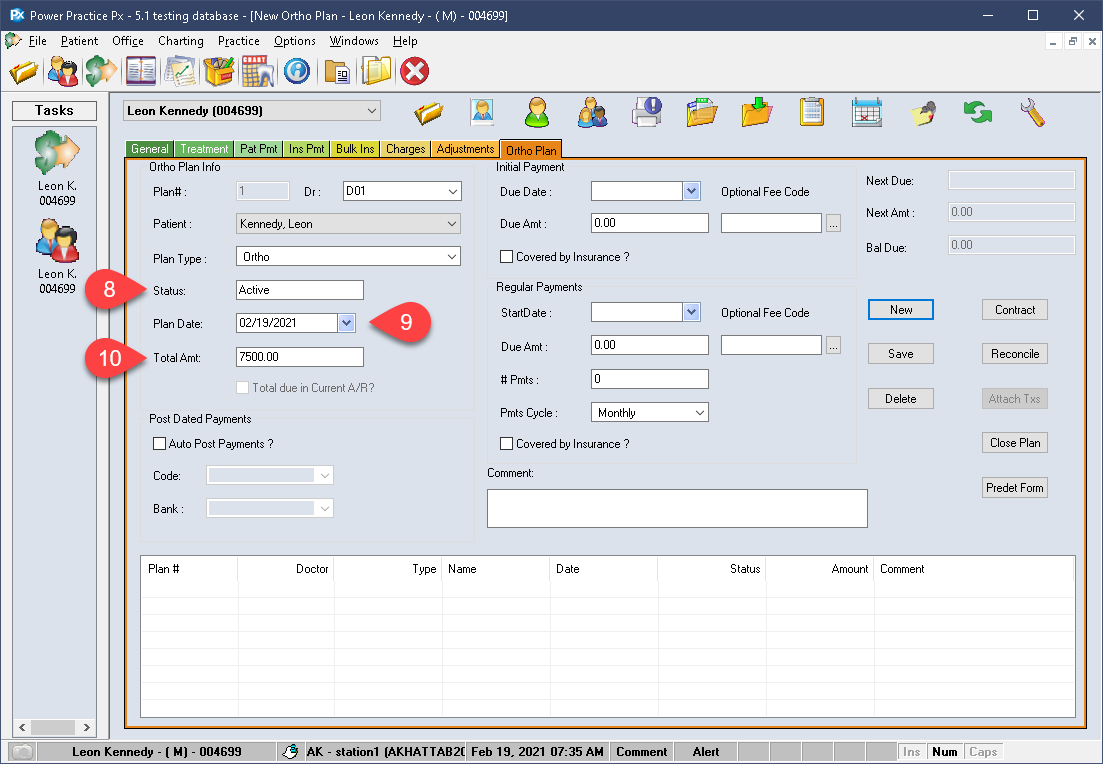
- Leave the Status set to Active.
- The Plan Date should be left as today’s date.
- The Total Amount field should be the overall plan cost. For example, $7,500.
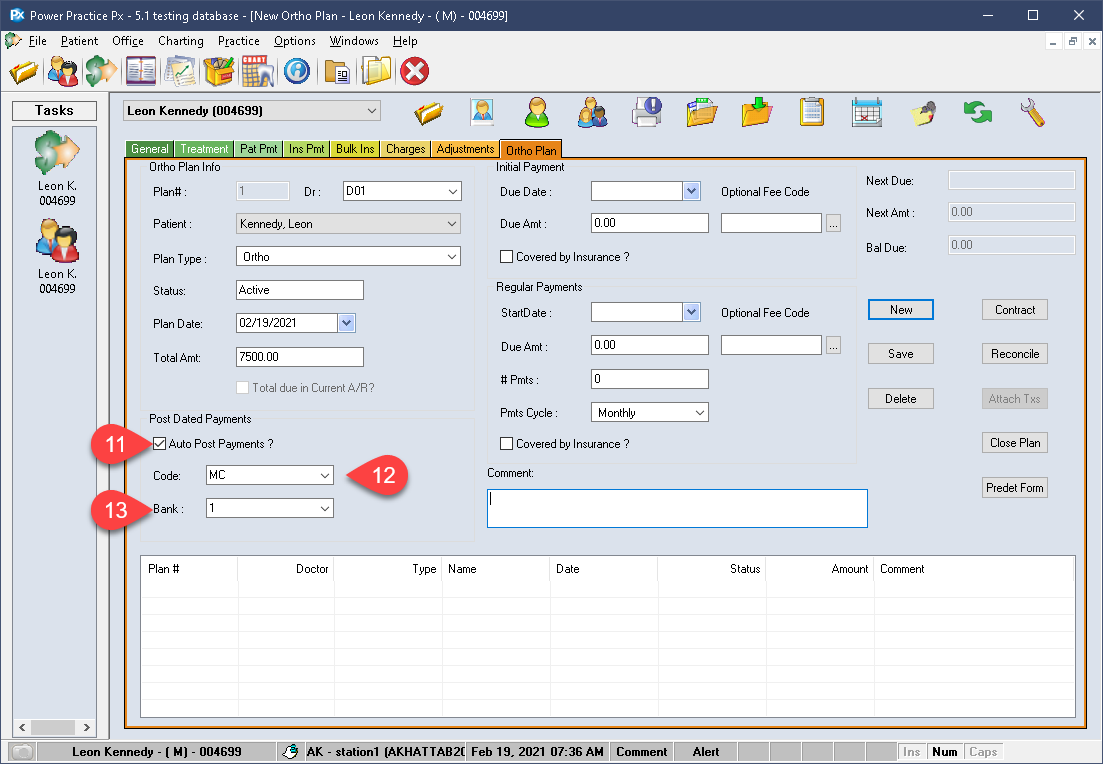
- Auto Post Payments can be used to prompt the program to enter a payment and allocate it to the Ortho fees when processing the monthly fees task.
- If you chose to use this option, set the appropriate Code for the payment type.
- Select the Bank you wish to post these payments under.
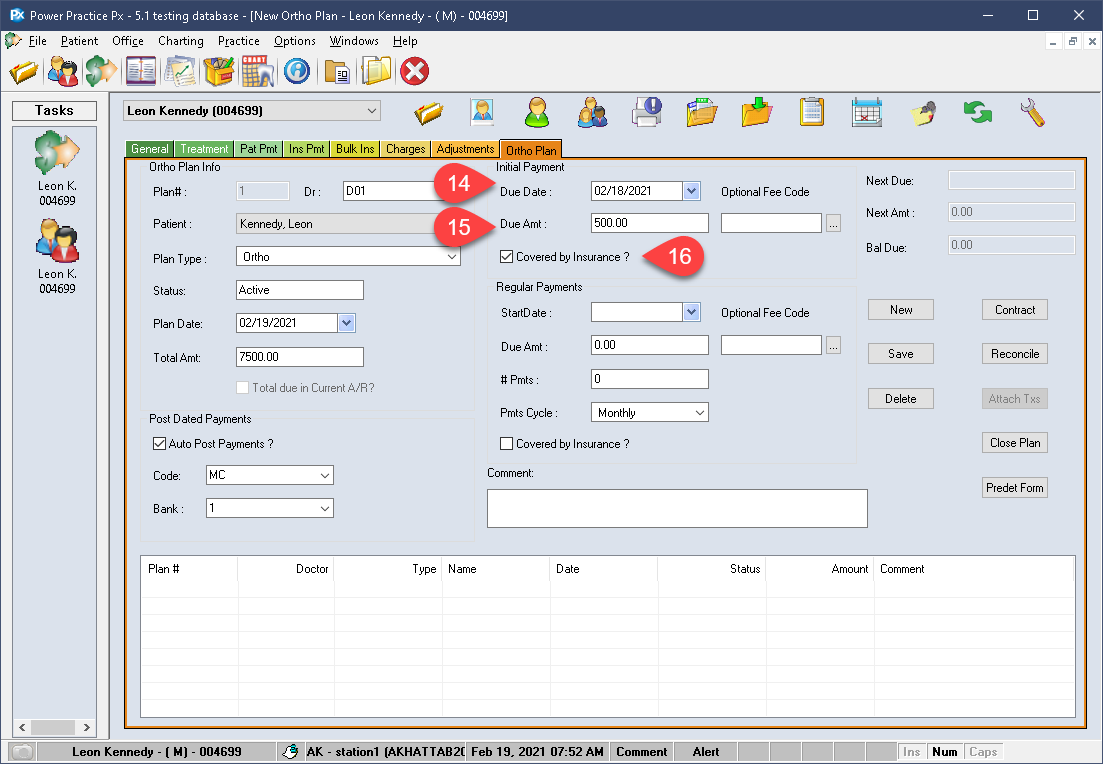
- Enter the Initial Payment date.
- Enter the amount of the payment.
- Covered by Insurance can be set as desired.
The Covered by Insurance selection is only a visual prompter, not a hard-setting that designates if the plan can be billed or not. This is simply a visual reminder that gets added to the reconciliation window to inform the reviewer if this plan can be billed.
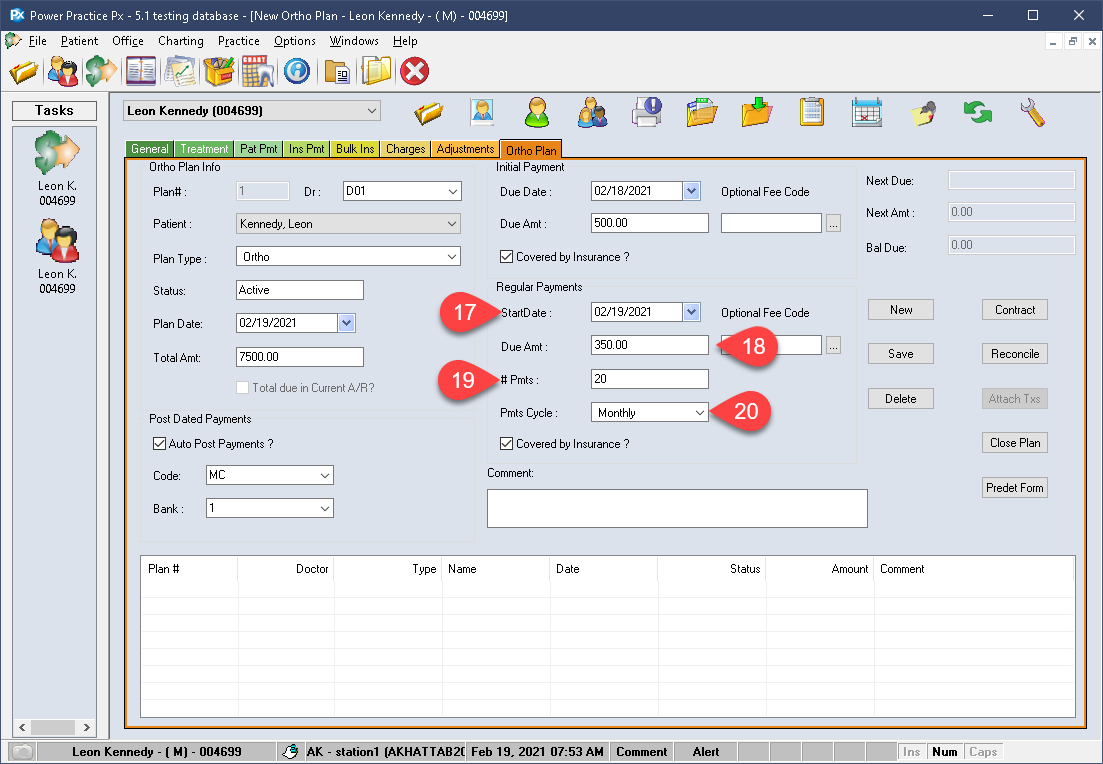
- Enter the Regular Payment Start Date. These are the monthly fees to be billed. Typically, these are set to the 1st or last of the month but is entirely based on user preference.
- Add the Due Amount to be paid monthly.
- This will automatically calculate your total Payments number for you.
- Set the Payment Cycle as desired: Monthly or Quarterly.
The Monthly cycle is simple, it will post using the Start Date set for Regular Payments, then repeat on that date monthly.
The Quarterly option will post the fees every 3 months from the set Start Date. I.e. if we choose January 15th as the Regular Payment date, the quarterly posting will populate as of April 15th.
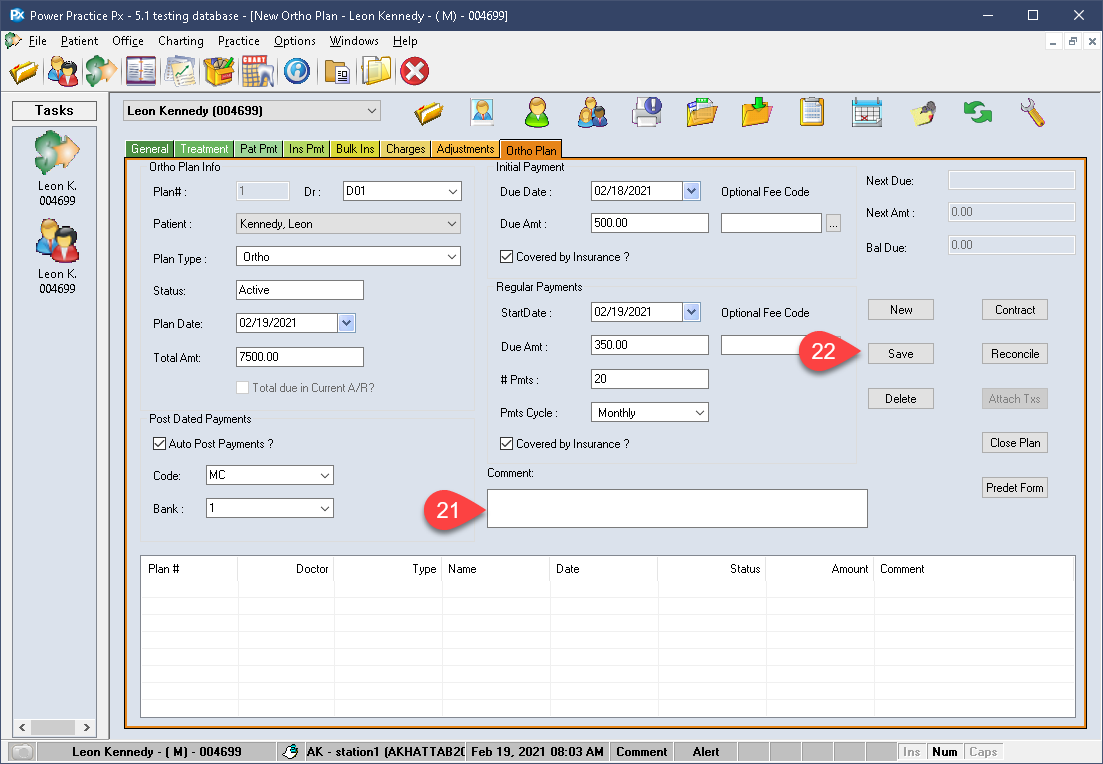
- You can use the Comment box to leave behind helpful information for future review.
- Finally, select the Save button on the right side to complete your policy setup.
The plan is now active on the family file. However, we still need to run the Ortho Plan Fees process to see the initial payment charge posting on the patient Ledger.
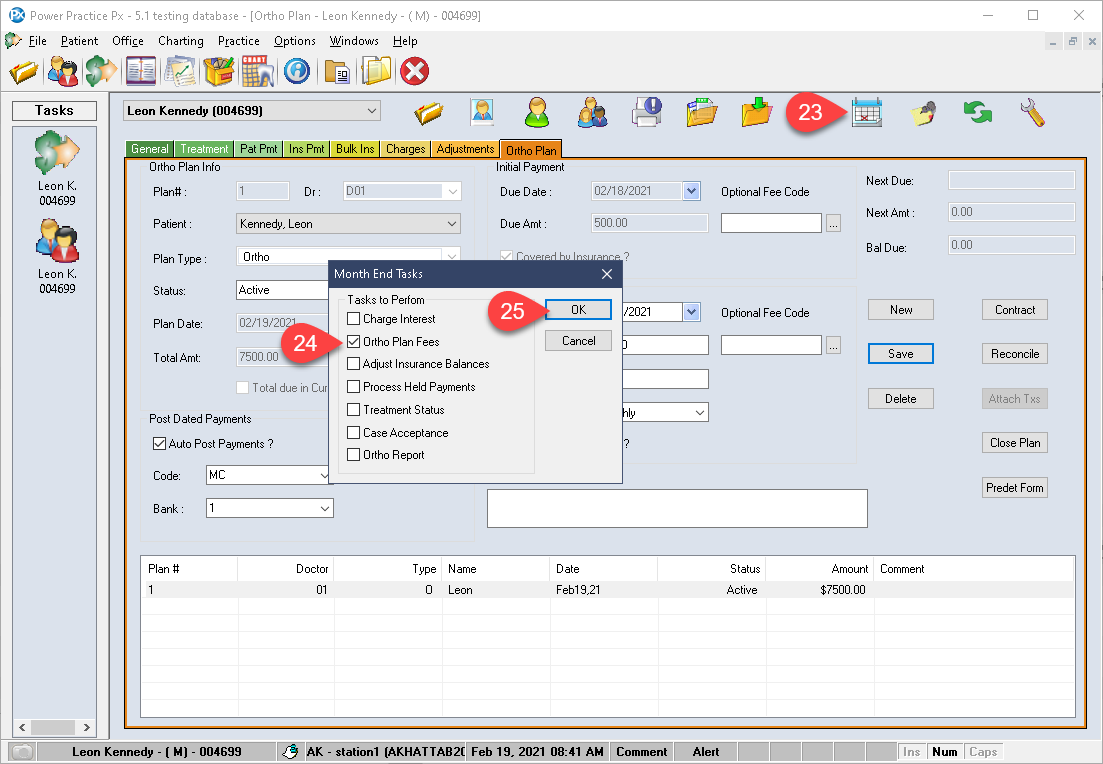
- Click the Calendar icon (Month End Tasks) atop the Transactions module window.
- Tick Ortho Plan Fees.
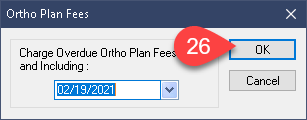
- Select the Ok button.
- Leave the date set to today’s date and press Ok.
The program will post the necessary items for this patient, as well as any other plan fees which should have posted as of the chosen date.
The program will never double post the Ortho fees so you can safely run this task as often as need be.
For more details about the Process Ortho Fees task, including information on receiving print outs for those affected by the task, please refer to the article linked at the end of this guide.
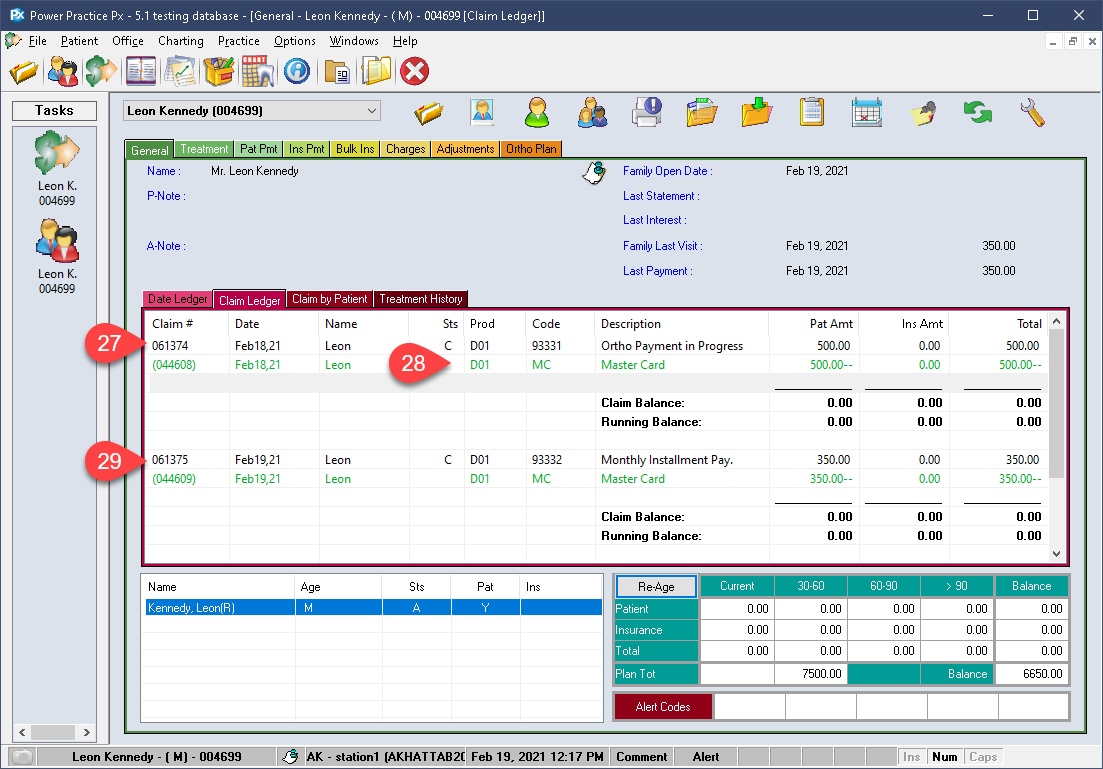
- Having run the Ortho Fees task, your ledger should now show the initial fee treatment line.
- If you chose to auto-post payments, you should also so your payment amount and type allocated to this initial fee line.
- If your Regular payment date is in the past or matching the date use for the Fee processing task, you will also see a treatment line posted for the Monthly (or quarterly) Ortho fees.
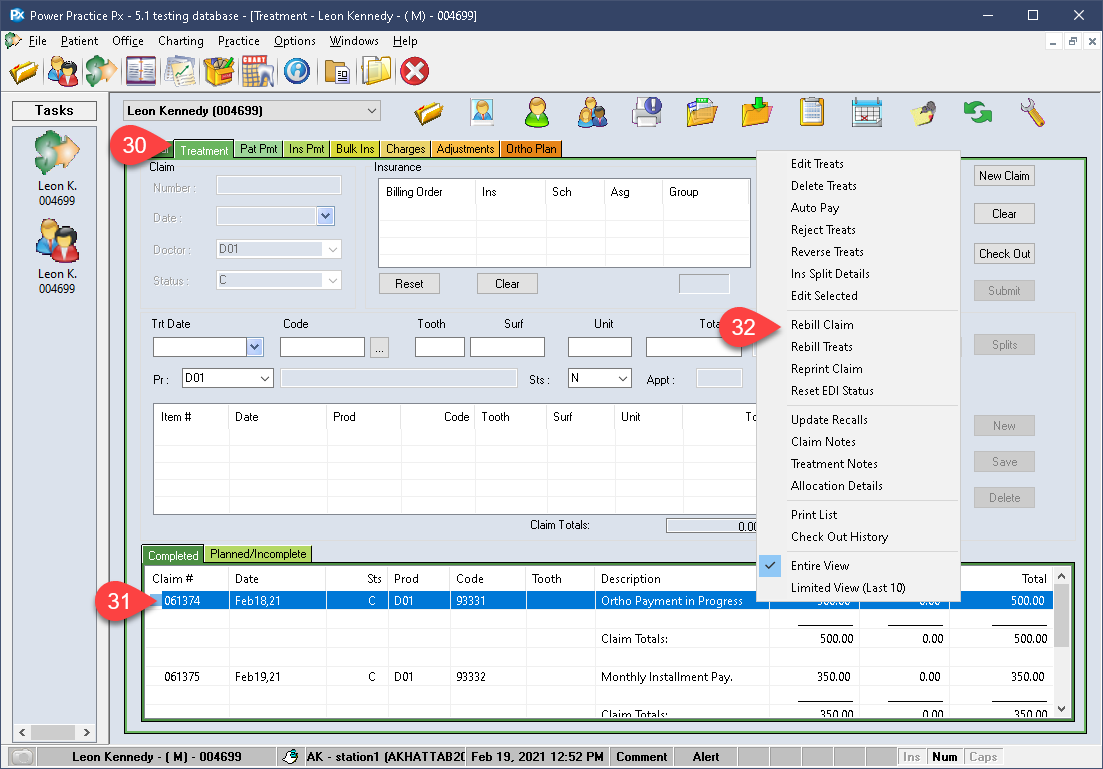
- With your treatments posted on the ledger, you can visit the Treatments tab to submit it like you would any other claim.
- Simply right click the item at the bottom of the Treatment tab and choose Rebill Claim or Rebill Treats.
- Follow the standard EDI submission prompts and you should receive an Electronic Disposition on the submission’s status.
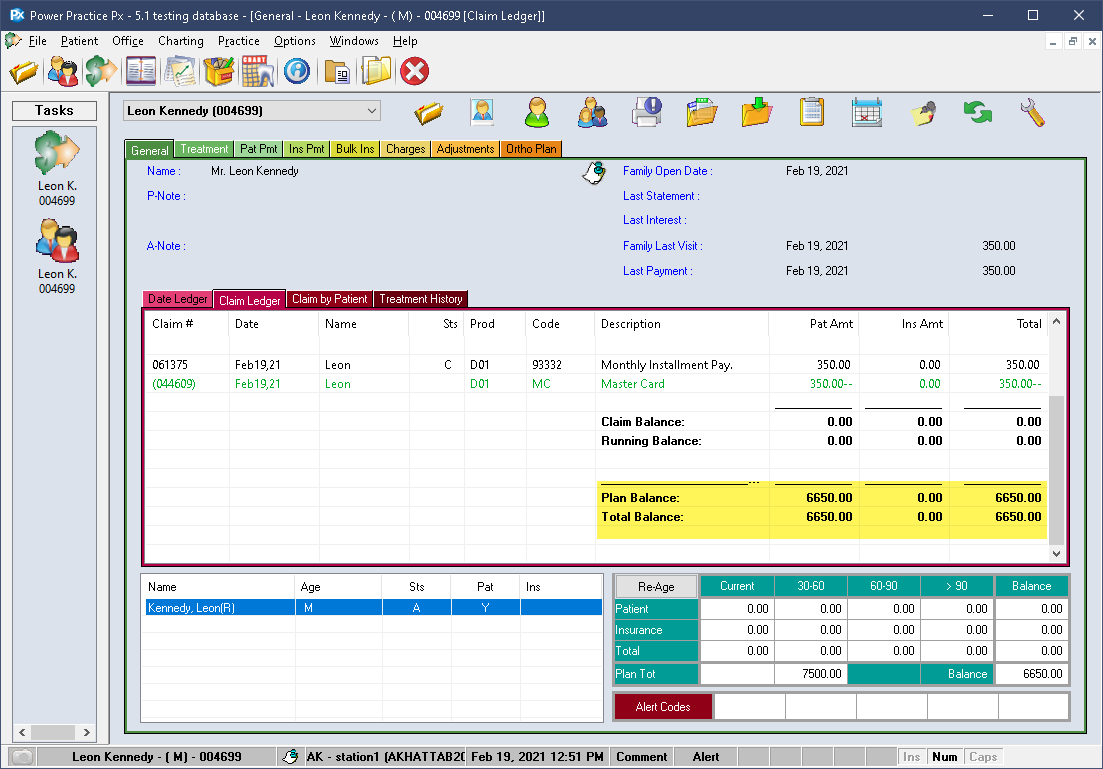
At the bottom of the family ledger, you will find a new set of lines for tracking the active Ortho plan.
These values will update over time as your fees are processed and paid, giving you an easy to read reference point on the progression of the Ortho plan.
Additional Resources
