Description
This article will guide you through taking a patient photo for their profile using a camera (webcam) directly attached to your computer.
Step-by-Step
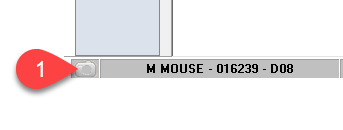
- Select the Camera icon in the bottom left corner of the program.
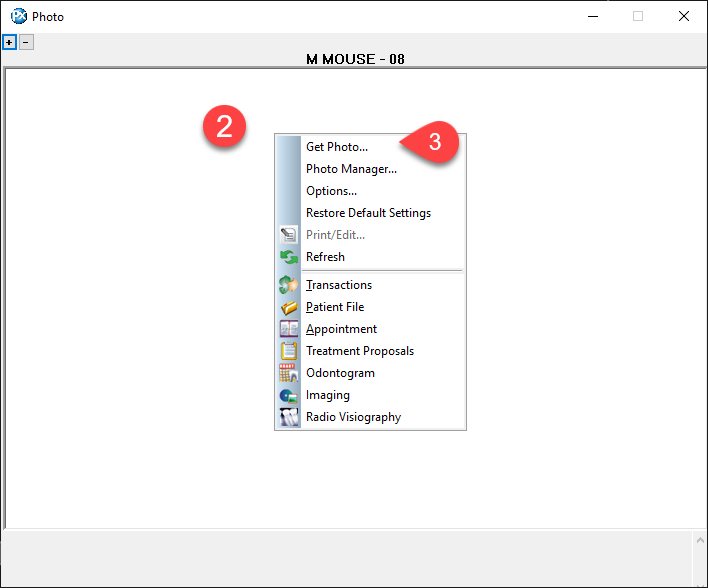
- Right-click in the photo pop up window.
- Select Get Photo from the menu.
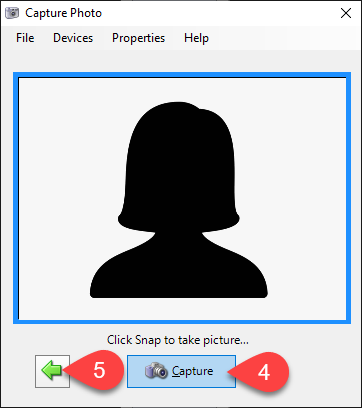
- Select the Capture button.
- Then select the back button.
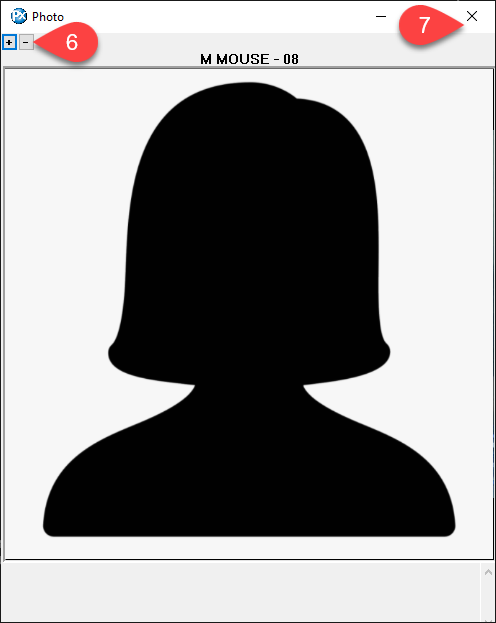
- Select the + and – buttons to adjust the photos size to your preference.
- Select the X in the top right corner to close this window.
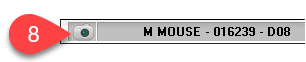
- The Camera icon will now have the lens colored to indicate there is a photo on this patient’s profile. You can select this icon anytime to see the photo or add and remove additional photos.
Additional Resources
