Description
You may – or may not – have noticed a couple of letters within brackets automatically appearing in front of the patient’s name in the Scheduler. It could appear as (N) or (A) or even (NA)! These are what we call Prompts and they provide additional information about the patient or the appointment in one quick view. Both (N) and (A) are standard prompts for all Power Practice users. However, you can add up to five of your own custom Prompts as well!
Step-by-Step
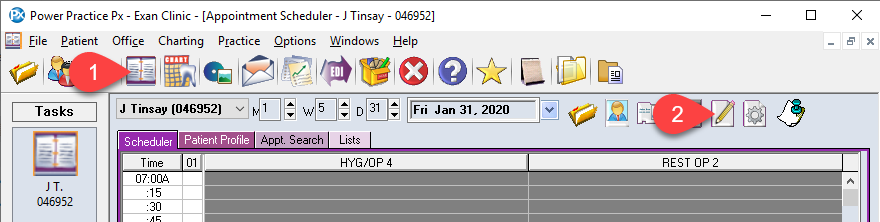
- Select the Scheduler icon from the top tool bar.
- Then select the Scheduler Setup icon near the top right of the scheduler window.
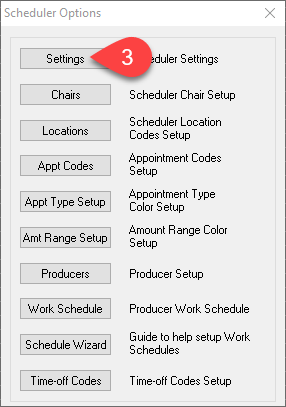
- Select the Settings button in the Scheduler Options window that pops up.

- Now select the More… button in the Scheduler Option Settings window that popped up.

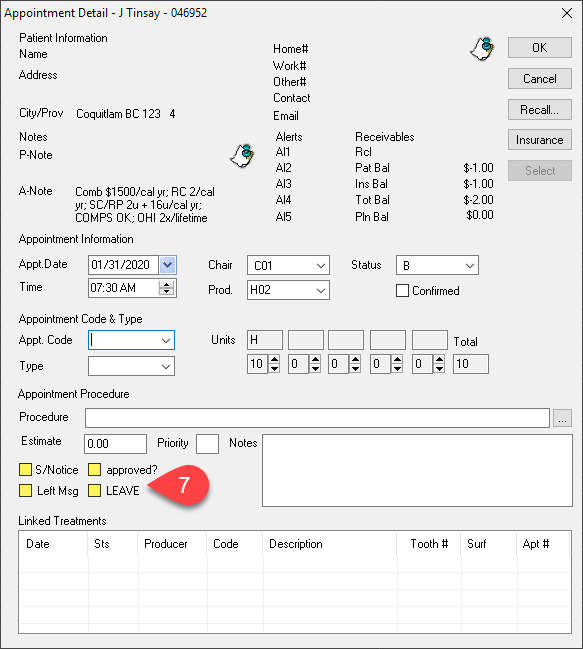
- Now you can add up to 5 Prompts and their Symbols. These can than be selected on an appointment and will appear on the scheduler.
If you are replacing or renaming an existing prompt, make sure no one in the clinic is already using it. All existing appointment that were using that Prompt will begin to show the new Prompt you created instead.
- Select OK to save your prompts.
- Now that you’ve created the Prompts, let’s use them! Try booking a new appointment on the Scheduler so you can see the new prompts available to be selected.
Additional Resources
