Description
This article will guide you through adding and removing columns (chairs) from your scheduler view. This article will also assist if you don’t see any columns being displayed on your scheduler.
Note: This is a per-user settings and will not change how other users have setup their columns.
Step-by-Step
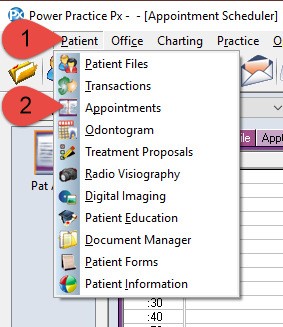
- Select Patient from the top menu bar.
- Select Appointment from the sub menu.
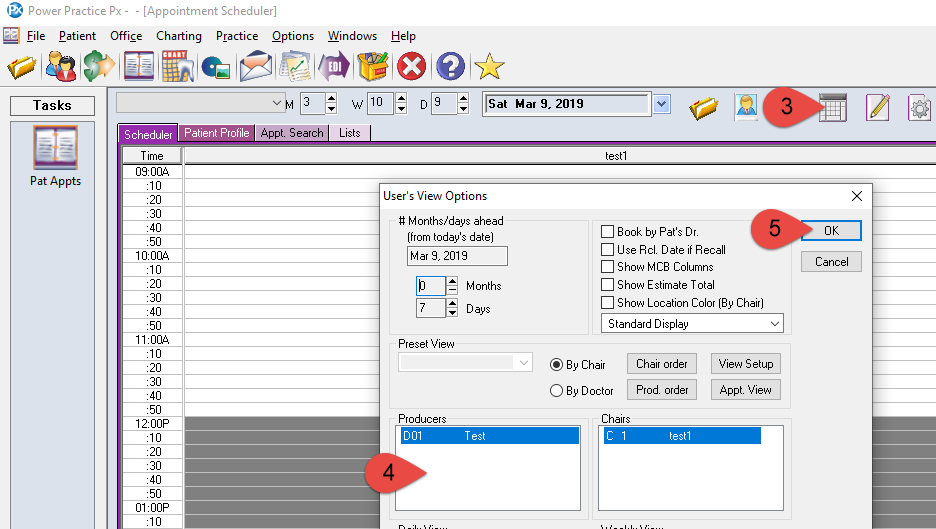
- Select the User View Options icon.
- In the Producers columns, select each producer so it’s line becomes highlighted in blue. Each selected producers chair(s) will automatically be selected in the Chairs column.
- Select the OK button in the top right corner to save the changes.
Additional Resources
Whenever changes are made to the Scheduler, they only affect the user account on which they are made.
To share your user settings, follow this guide: Copy Settings and Layout from/to Other User Accounts
