Description
version 5.1+
Replacing Producers with new team members has typically been a lengthy process in the past. This new utility will reduce this process into a couple of simple clicks.
First, you should create the new producer code in the Maintenance Manager and have them ready for Scheduler/chair setup.
Second, if the new producer is already tied to another chair, they will not appear in the transfer options list. This rule applies to Doctor codes but not Hygienists.
Finally, the chair we wish to move a producer to cannot be shared. If the Shared Chair tick box is active on the chair, it will not appear in the transfer options list.
Step-by-Step
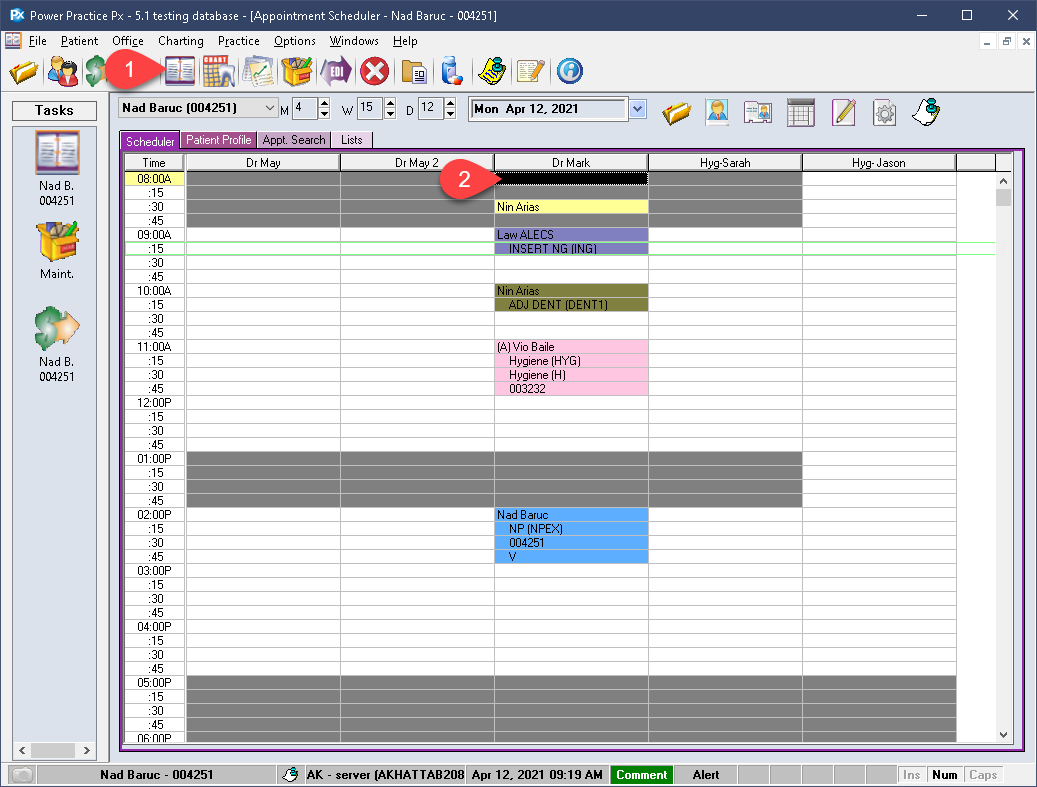
- Visit the Scheduler module.
- Identify the chair you wish to assign to the new producer and double left click within that column to bring up an appt details/appt setup box.
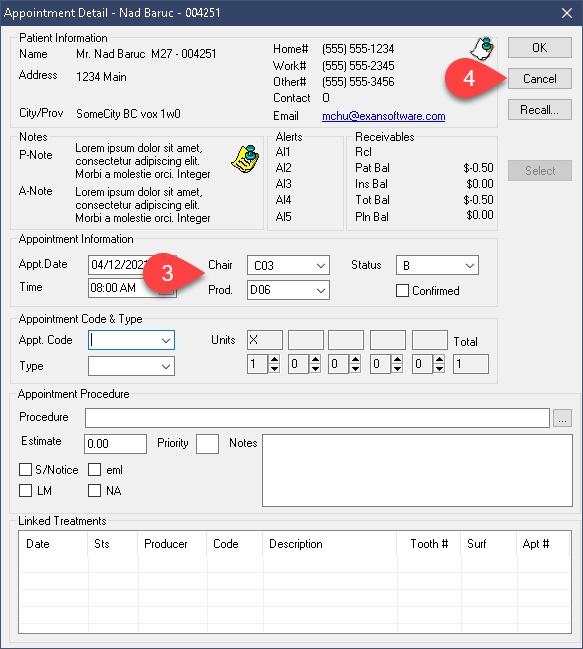
- Make note of the Producer number, as well as the Chair number.
- Select Cancel to exit this window without making changes.
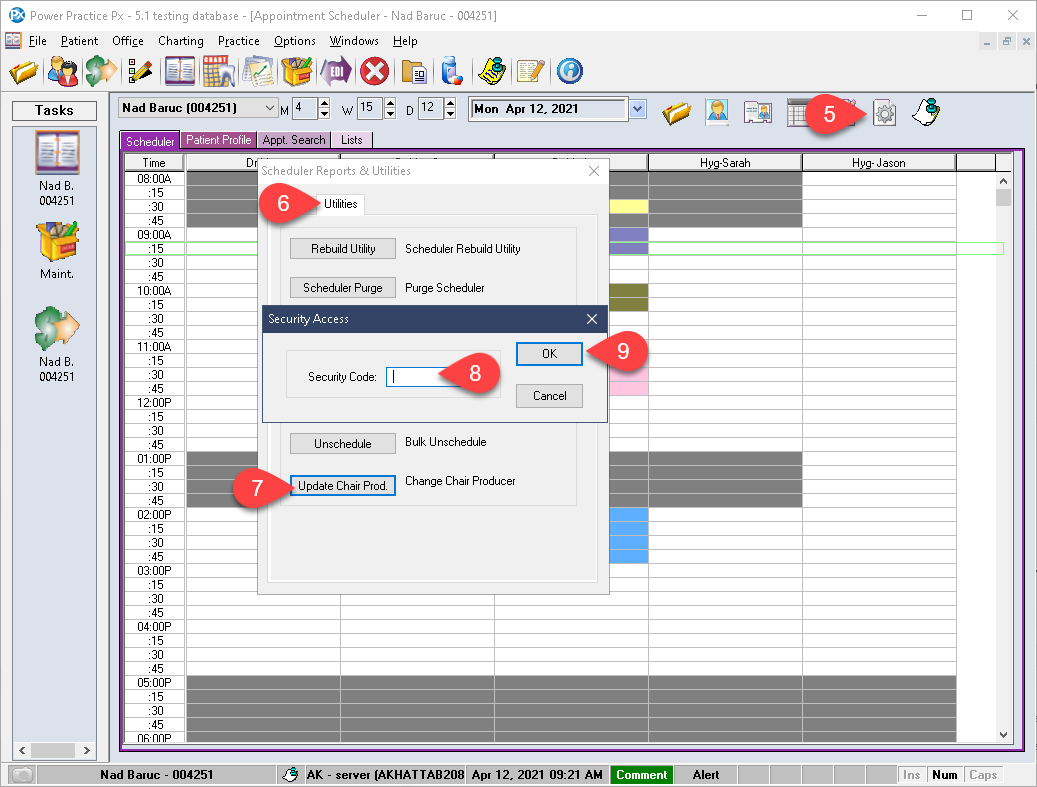
- Visit the Scheduler Reports/Utilities icon in the upper right.
- Switch the tab Utilities.
- Select Update Chair Prod. in the list.
- Enter the Daily Password (attained by contacting support).
- Select Ok.

- Set the Old Prod. drop-down to the owner of the old chair(s).
- Note which chairs the program associates to this producer. The is critical as you may have some producers who “own” far more than one or two chairs.
- Set the New Prod drop-down to the recipient you wish to receive the chairs and schedule data.
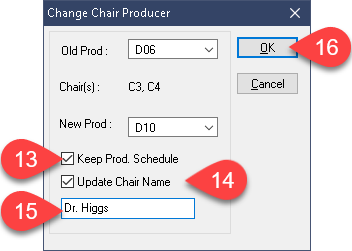
- Keep Producer Schedule will transcribe all work schedule entries under the old producer into the new one. This includes the Default Hours setup in Producer Settings, as well as all entries in the Work Schedule settings area including Work Add, Exceptions, and Time Off. The utility will also clear these entries out for the old producer along the way.
- Update Chair Name allows you to immediately change the column display name, it is highly recommended you do so.
- The updated name can be entered in this text box.
- Press Ok to confirm your choices.
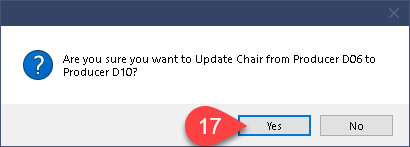

- Select Yes in the new pop-up window to continue.
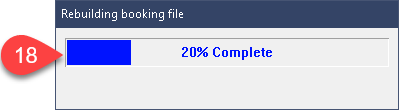
- Allow the application a moment to process the data. The completion time will vary depending on the amount of data to be processed.
- The program will automatically present a task completion notice window; select Ok.
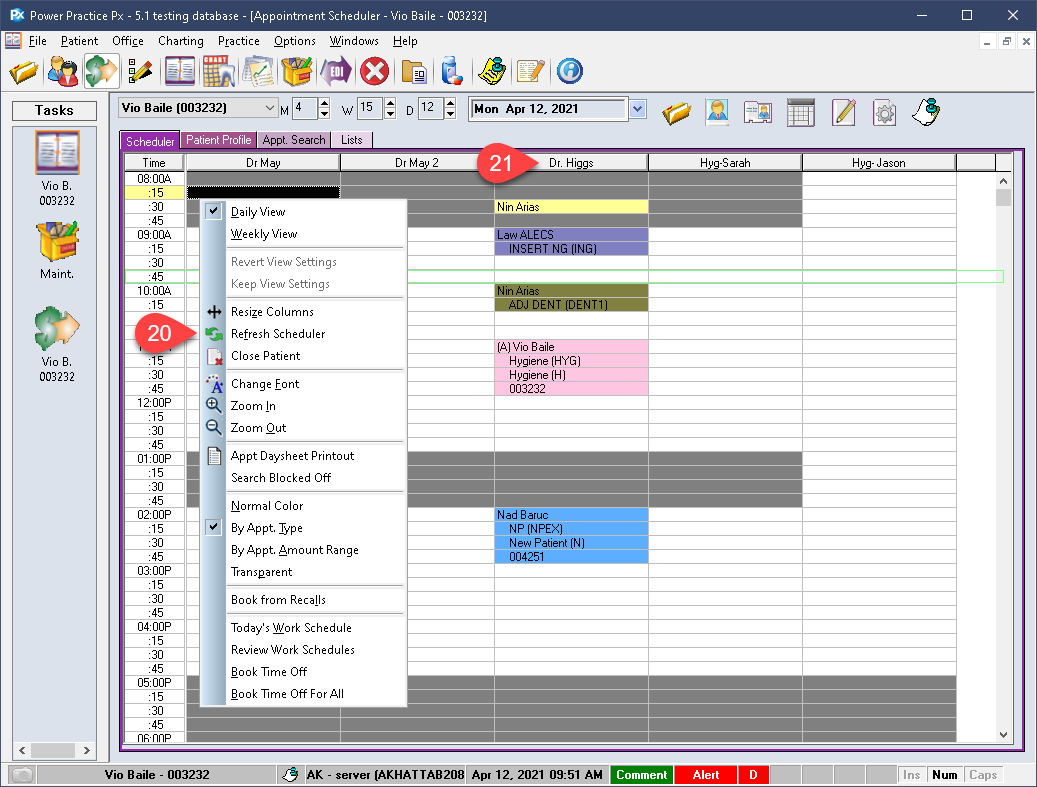
- Return to the Scheduler and Refresh via the right click menu or simply close and reopen the module.
- Your updated Chair should appear in place of the old one.
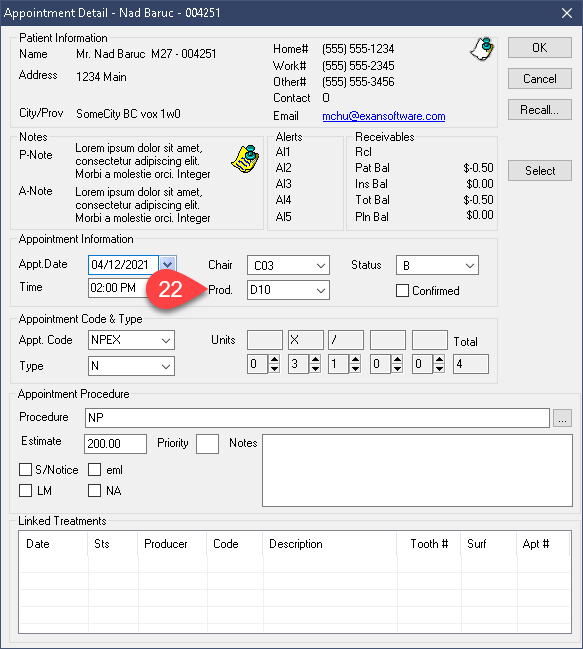
- If you double click any appointments booked or create a new one, you should notice the new producer associated by default.
At this stage the process is complete, the chair and appointments are reassigned and ready for use.
In most cases, there is no need to review the chair/view selections after since this process simply reassigned everything. If your chairs/view were in proper order before, they should still be after. If you wish to add an extra chair to the view, however, be sure to make such changes in the User View Options and then Share them or apply them manually to all other stations.
