Description
version 5.1+
Find the same Insurance Details information window in various parts of the program. This uniform update will help reduce confusion when reviewing the insurance information from different parts of the program.
Step-by-Step
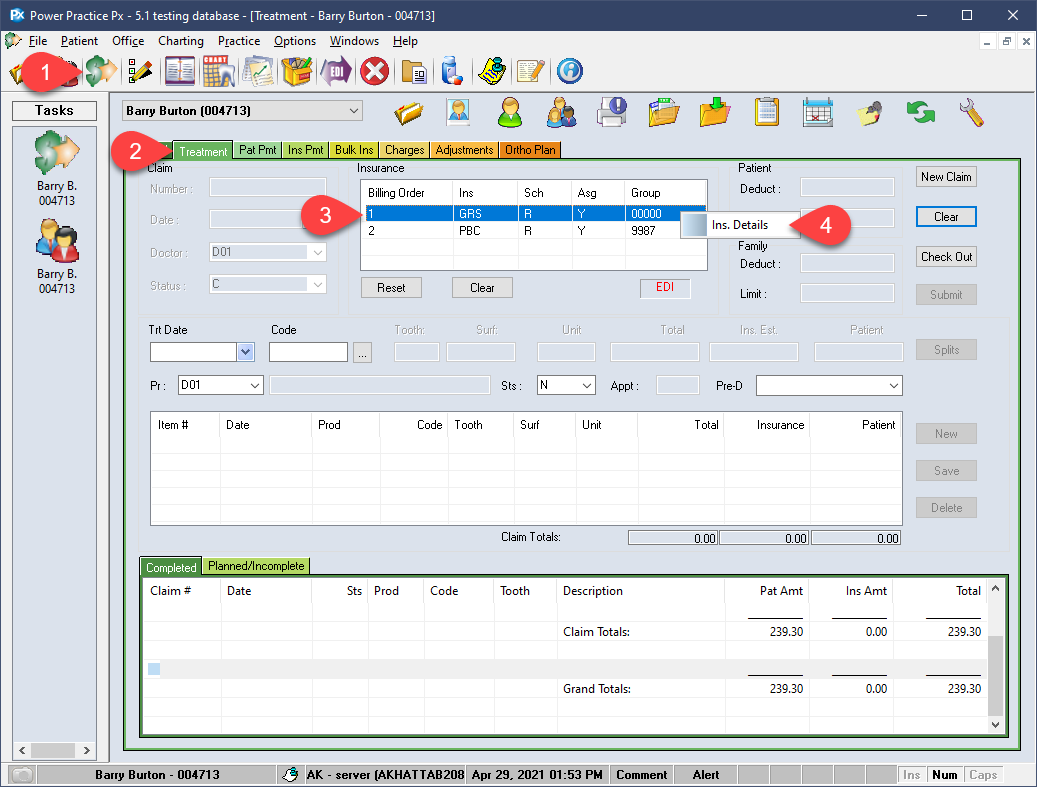
Transactions:
- Visit the Transactions module.
- Select the Treatment tab.
- Right click the insurance company listed in the center-top.
- Choose Ins. Details.
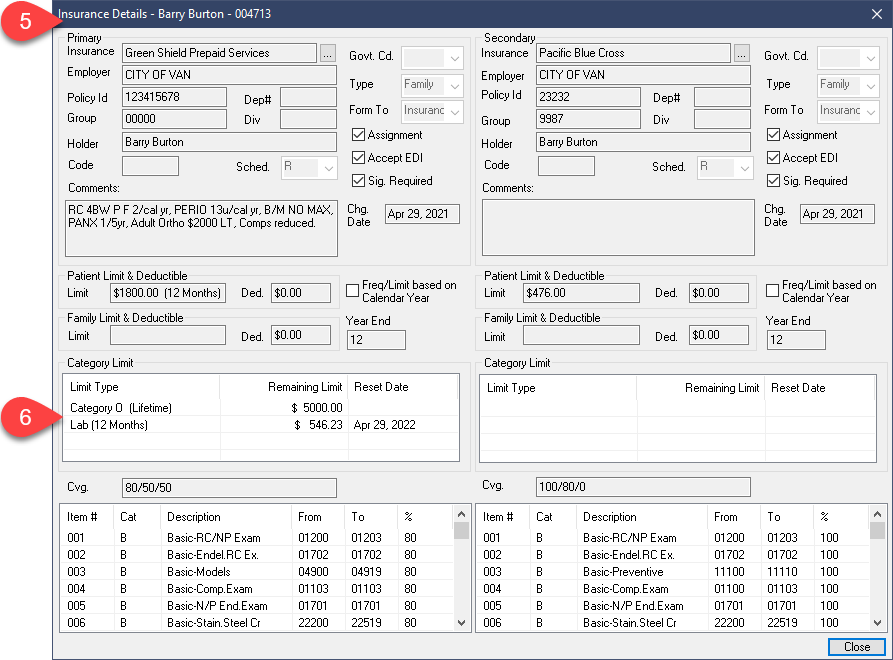
- The Insurance Details window will appear. At this time, the window can only show the first two policies covering the patient.
- You cannot make changes to the policies from this screen, but you can review the remaining limits, if they are set properly.
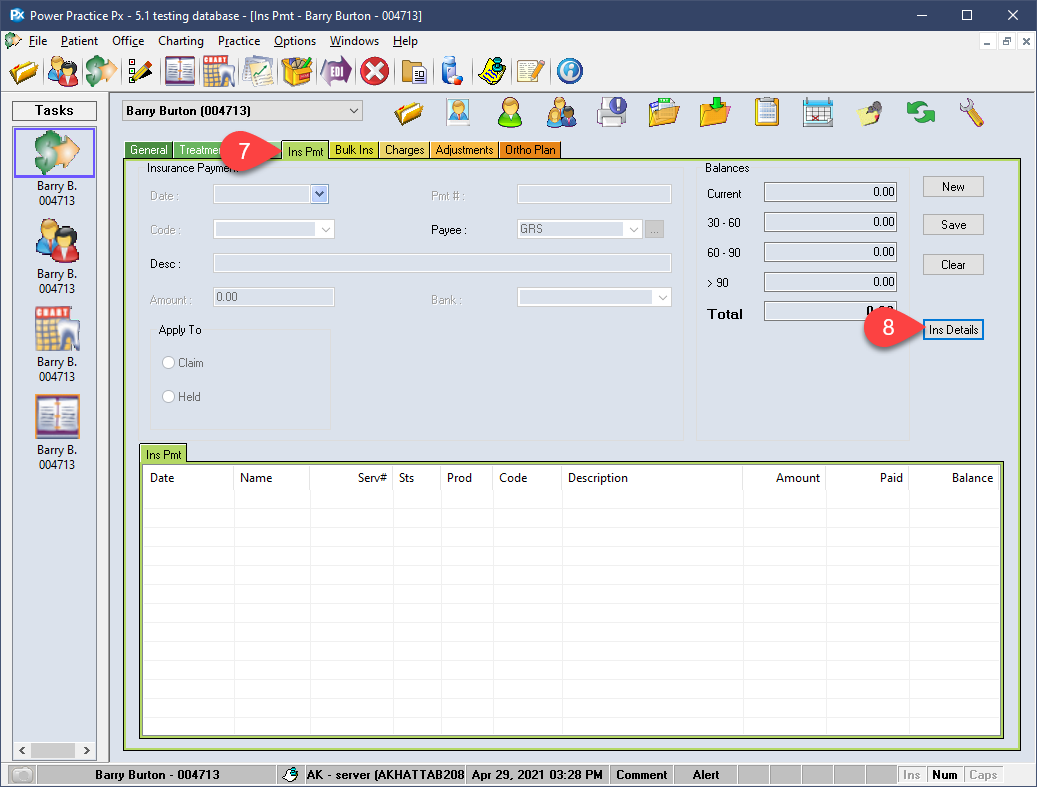
The same information can be accessed via the Insurance Payment tab, as well as the Bulk Insurance Payment tab.
- Visit the Insurance Payment tab.
- Select Ins. Details.
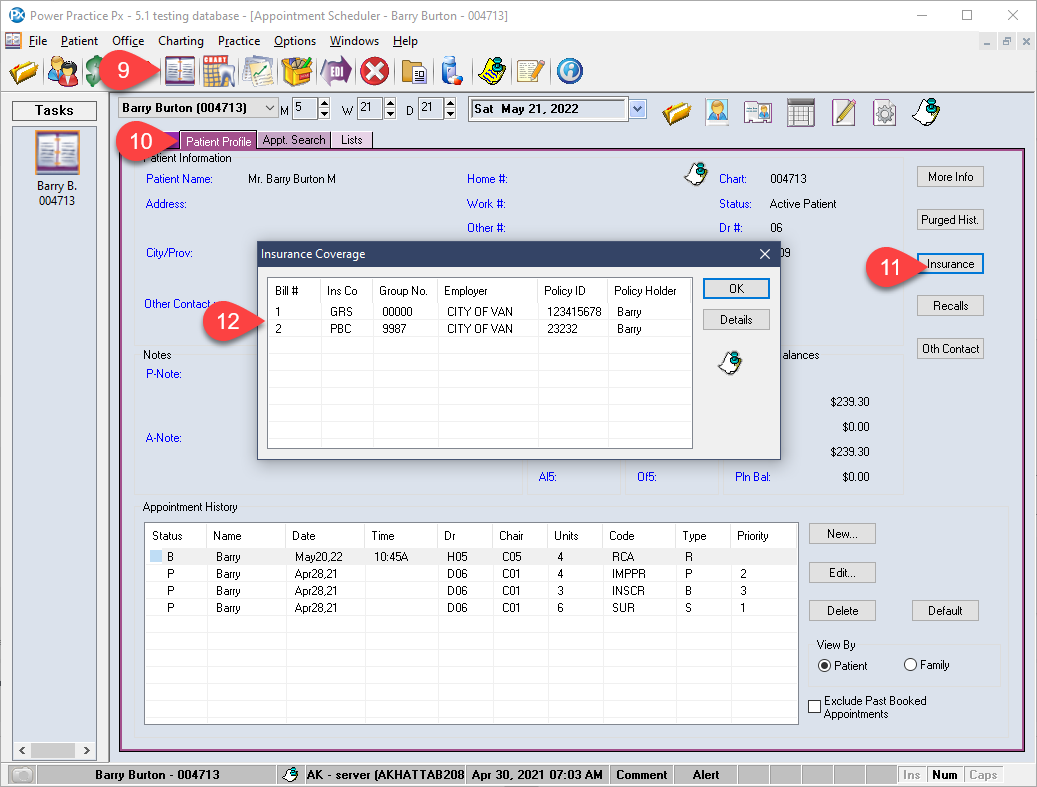
Scheduler:
- Visit the Scheduler module.
- Select the Patient Profile tab.
- Select Insurance.
- A new window containing the patient’s policies pops up.
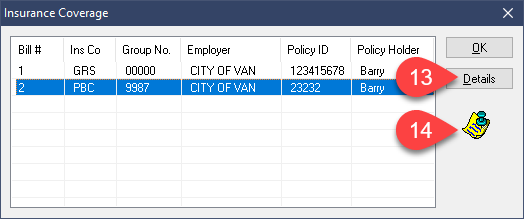
- The Details button will open the familiar insurance details window.
- The sticky note icon can be used to enter an Insurance type note. These can later be reviewed in the Notes Manager.
Finally, we can access the insurance details window via the appointment details window directly.
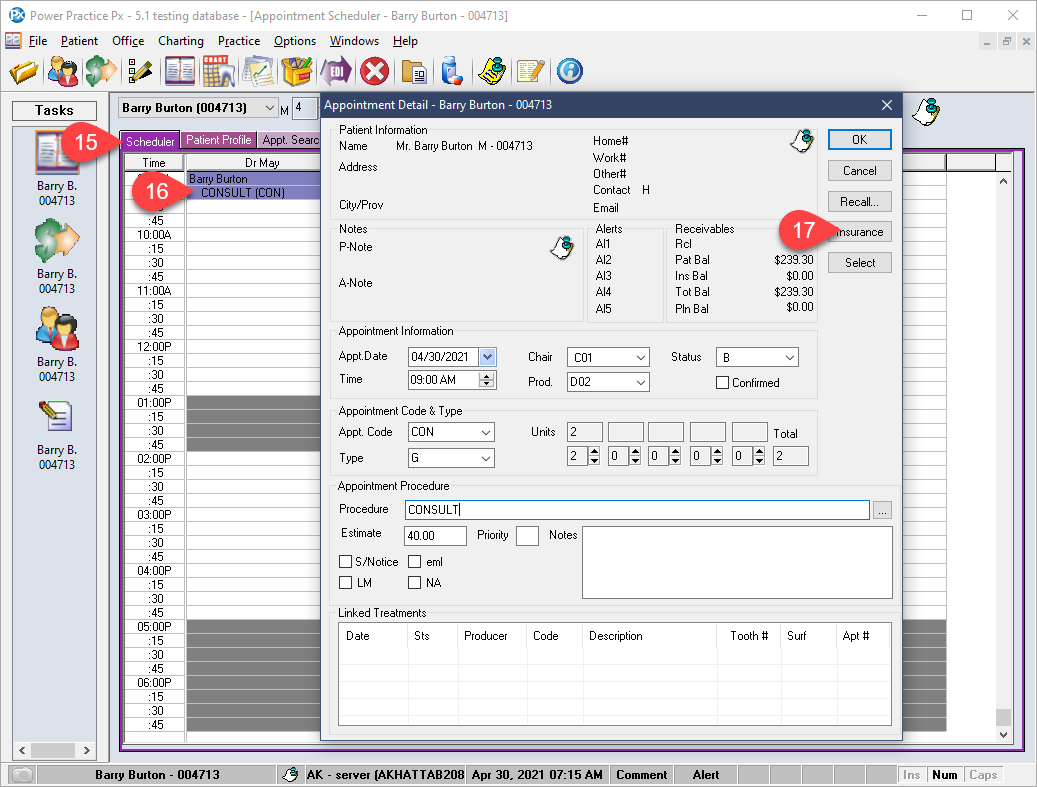
- Visit the Scheduler’s main page.
- Double left click an appointment to bring up the details.
- Select the Insurance button.
The synchronized details view will help avoid confusion when viewed from different areas of the program. With this unified view, you can more reliably review patient insurance details where needed.
