Description
This article will guide you through the steps of creating an Appointment Type. To create the Appointment Code, please check out the linked article: Adding New Appointment Codes

- Starting in the Scheduler, head over to the icons on the right and open up the Scheduler Setup

- Select Appt Type Setup
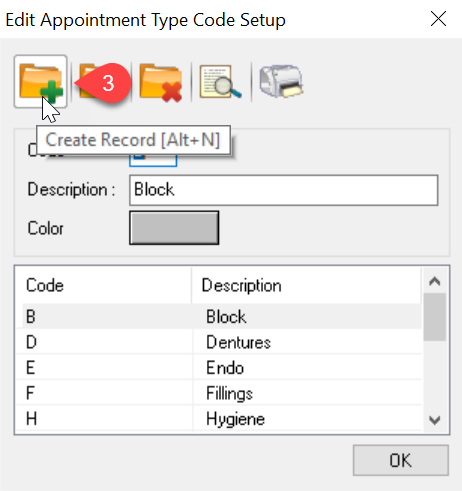
- To create anything new in Power Practice, always start by clicking on the Create Record icon, or the folder with the green plus sign
- When creating a Code, make sure to pick a letter that hasn’t already been entered. Since codes can only be one character, it’s good to scroll through the list and see what’s still available
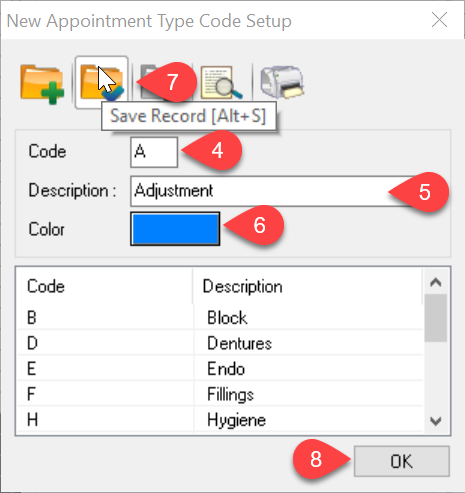
- Next enter the Description, but keep it brief
- When picking the Color, make sure it is unique. You can choose from the basic colors provided or add a custom color
- Once everything is entered, Save the Record by clicking on the folder with the blue check mark. This will add it to the list
- Click on OK to close the window. You have now successfully created a New Appointment Type
Additional Resources
