Description
This article will guide you on how to set up your appointment prompts and optional appointment statuses.
Step-by-Step
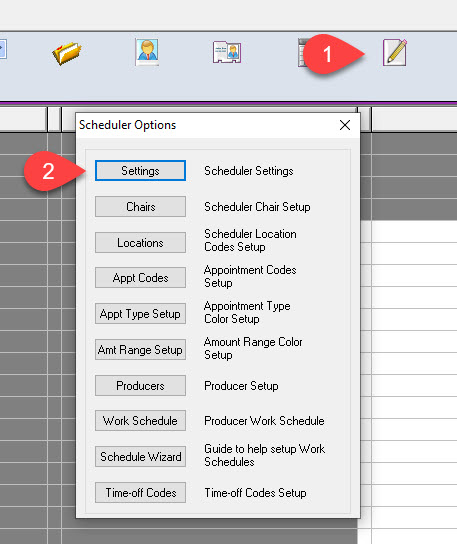
- In the scheduler, select the Scheduler Setup icon located on the top right corner.
- Select the Settings button.
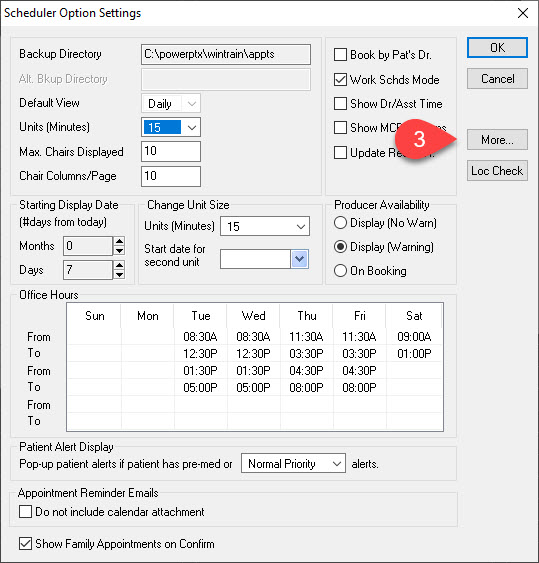
- Select the More button that is located on the right side.
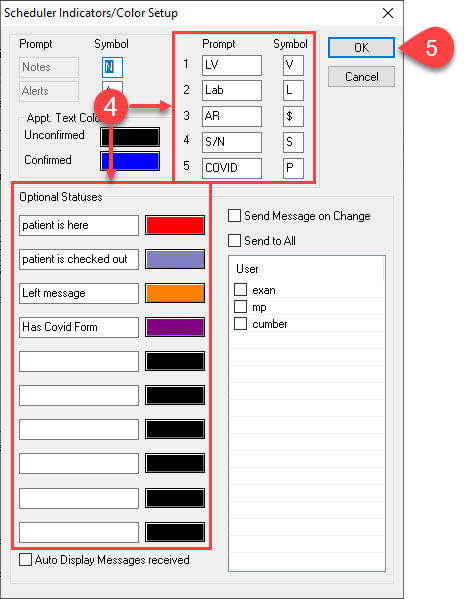
- From here in the Prompt section, you may customize your prompts to inform you on important information regarding the patient. The same applies to Optional Statuses. You may apply a description of a patient’s appointment status and assign a color. Examples of which are in the image
- Select OK on the top right corner to save your changes and to close the window.
Additional resources
Click the link for more information on how to use appointment prompts and optional appointment statuses.
