Description
This guide will show you through setting up your Odontogram preferences.
Step-by-Step
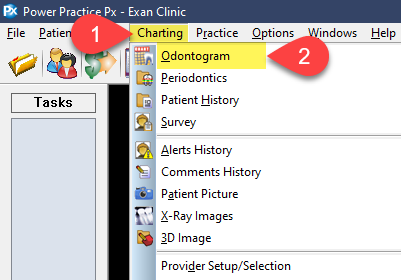
- Select Charting.
- Select Odontogram.
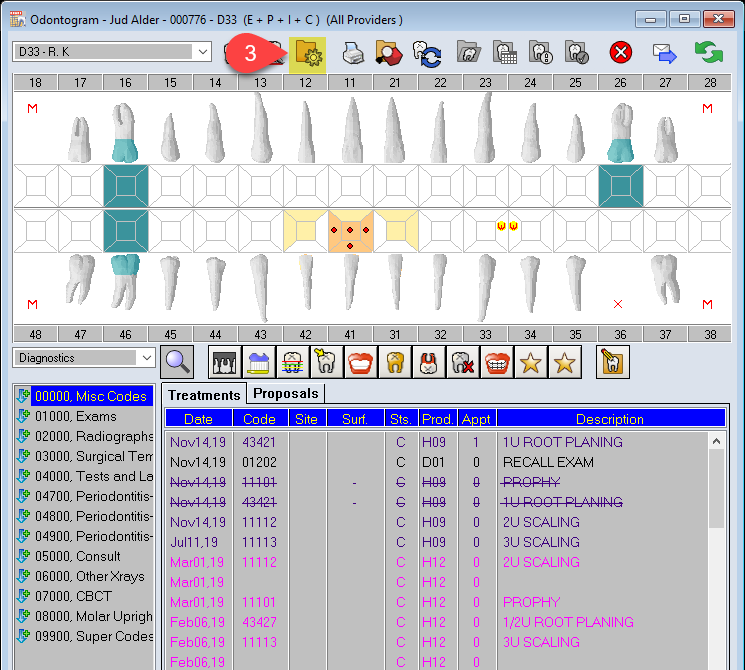
- Select the Customize Chart Settings icon.
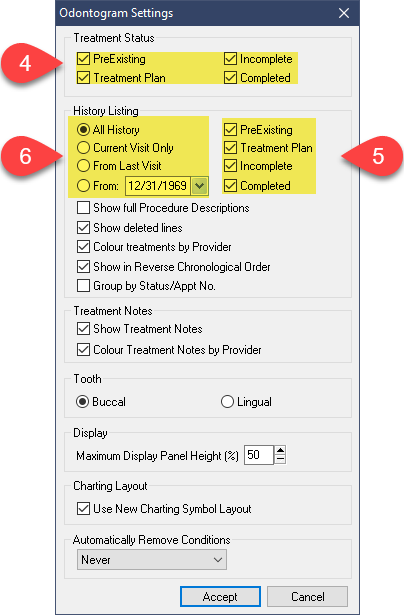
- These boxes enable/disable the visual representations on the Odontogram.
- These boxes affect what treatments are shown in the Treatments box.
- The History Listings allow you to further refine which treatments are displayed.
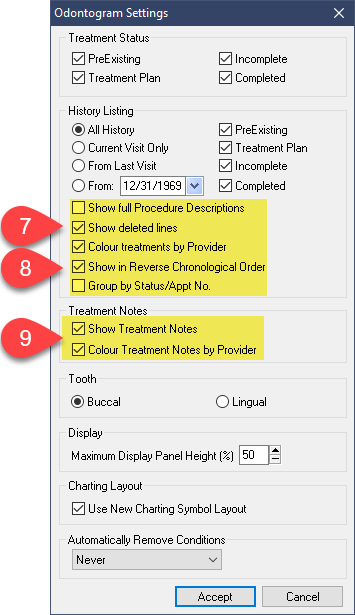
- Enable Deleted Lines to review treatments removed.
This is very helpful when reviewing Planned treatment options suggested to the patient which were rejected/removed at some point. - Typically, the Colour Treatments by Provider and Show in Reverse Chronological Order are selected.
- Under Treatment Notes, enable both options.
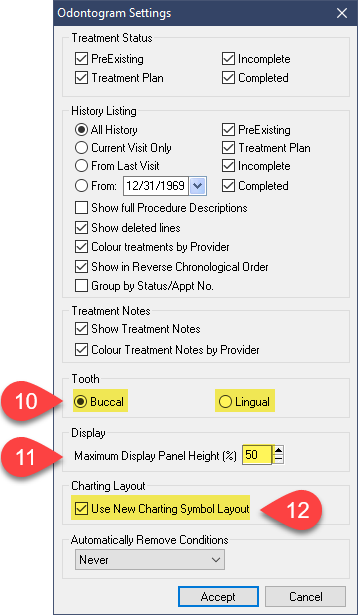
- Choose the visual orientation you prefer.
- Set the preferred distribution of Visual to Descriptive space. 50% is the lowest value available.
- Enable the use of New Charting Symbol Layout.
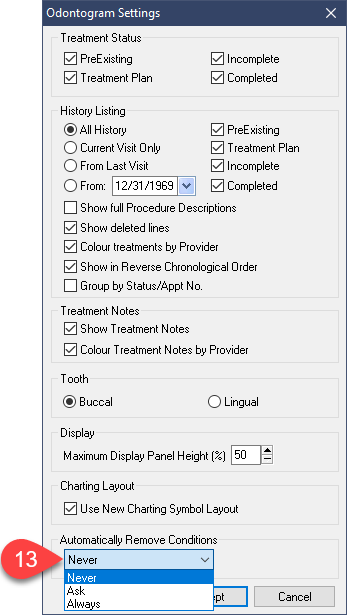
- Automatically Remove Conditions determines what the Odontogram will do in cases where treatments are posted to teeth with Conditions specified.
I.e. If site 18 has a watch condition applied but is later extracted, what should the program do with the watch?
Never will retain the condition’s presence, regardless of treatment posted.
Ask will present an option when treatments and conditions conflict.
Always automatically removes conflicting conditions if treatment is posted.
Additional Resources
