Please note: If you intend to replace an existing Custom Condition with a new one, please be sure to select Delete first. Then you can follow the guide below and Edit in a new condition. Otherwise, you will be making a change to the condition already set on some patient charts, resulting in an inaccurate chart record.
Description
This guide will show you through the creation and use of Custom Conditions in the Odontogram.
Step-by-Step
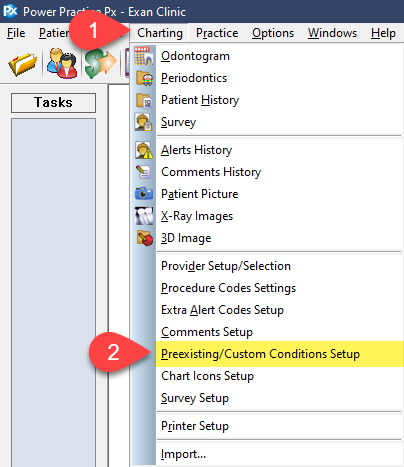
- Select Charting.
- Select Preexisting/Custom Conditions Setup.
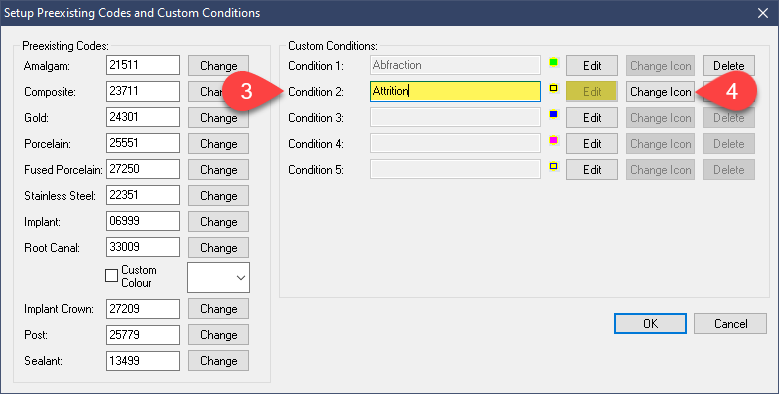
- Select Edit then enter the condition name.
- Select Change Icon.
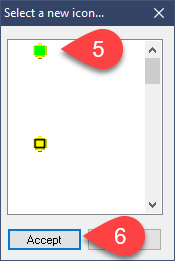
- Select an icon color from the list.
- Select Accept.
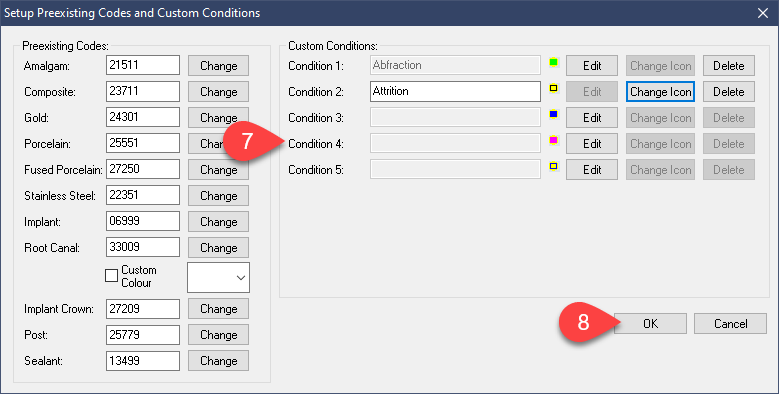
- You can add up to 5 Conditions.
- Select Accept to dismiss this window.
At this point the codes created will be available to use in the Odontogram. See the following steps for instructions on using these codes.
Using Custom Conditions
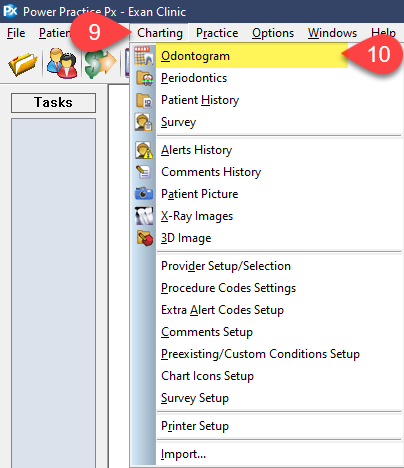
- Select Charting.
- Select Odontogram.

- Select the tooth/teeth you wish to apply the condition to.
- Select the Set Conditions button.
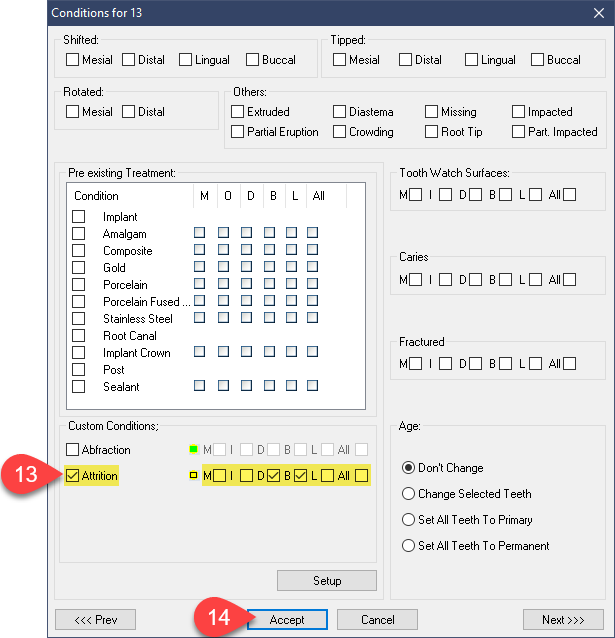
- Tick the condition box, then select the relevant surfaces.
- Select Accept.

- You will now see the condition icons on the selected surfaces.
Additional Resources
