These changes will only affect the user login used when creating the weekly view. To share these settings to all other users when finished, see the article at the end of this guide.
Description
This article will guide you through creating a rotating Scheduler view based on the day of the week.
Step-by-Step
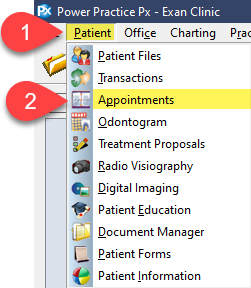
- Select Patient.
- Select Appointments.
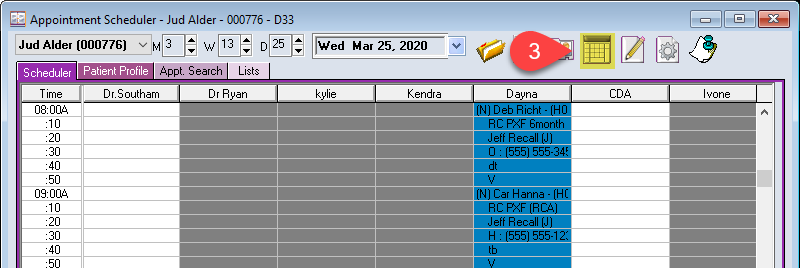
- Select User View Options.
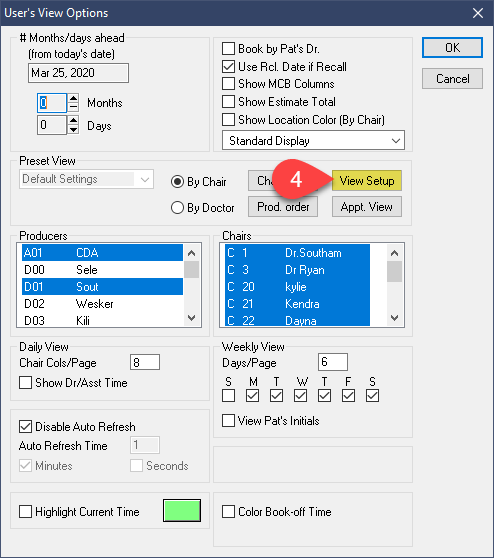
- Select View Setup.
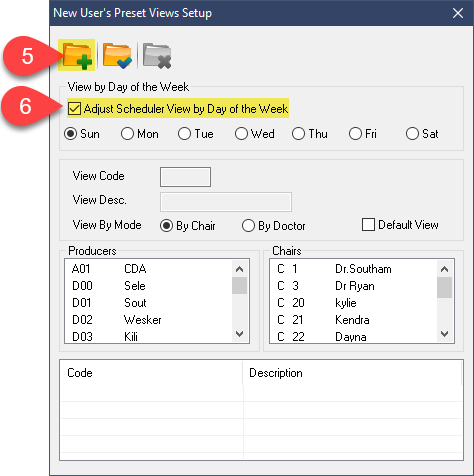
- Select New Record.
- Select Adjust Scheduler View by Day of Week.
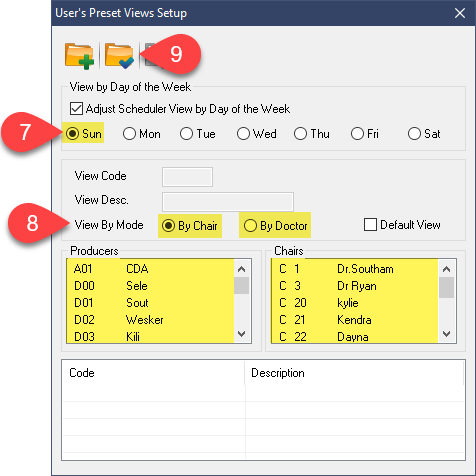
- Select Sun.
- Select the preferred display method, By Chair or By Doctor.
Select the appropriate chairs in the columns below based on the method chosen.
I.e. if you chose By Chair, make your selections in the right column. - Select Save Record.
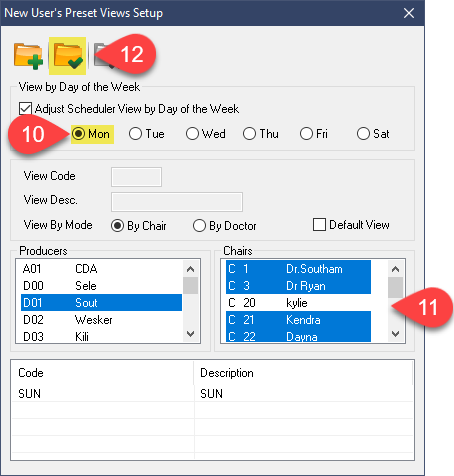
- Select Mon.
- Select the chairs you would like displayed.
- Select Save Record.
Repeat this process until you have made a selection and saved the record for every day of the week.
This includes days on which the office is closed. Simply make no chair selections and press Save.

- When finished saving a record for each day of the week, select the X icon.
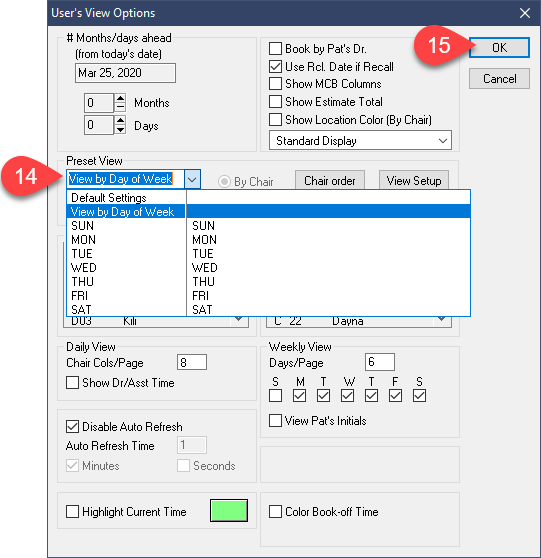
- Select the Preset View drop-down.
- Choose View by Day of Week.
Note that the program will automatically adapt to fit the currently selected day on the Scheduler; the Preset View will not simply stay on View by Day of Week.
You will now need to share the View Settings created to all other users. See the linked article below.
Additional Resources
