Description
version 5.0+
You can apply signatures to both Treatment Notes and Clinical Notes. It is worth mentioning that a signature cannot be removed by any user other than the original entry user. It also helps to keep in mind the security options on offer, allowing you to lock notes from editing or deletion past their original entry date. You’ll find articles to help set those features up in the Additional Resources section below.
In order to use the features described in this guide, you must first enable digital signatures in Power Practice 5.0+. Please see the Additional Resources section at the bottom for a link to the pre-requisite setup article.
Step-by-Step
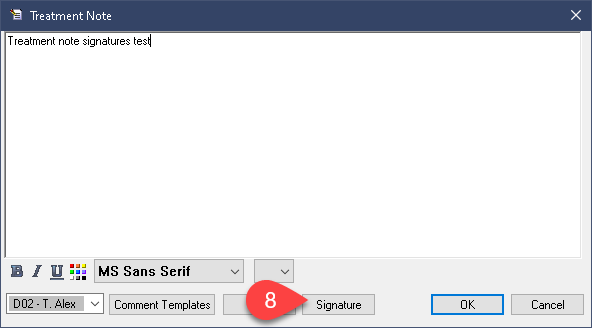
- If you are editing an existing Treatment note, find the Signatures button at the bottom of the window.
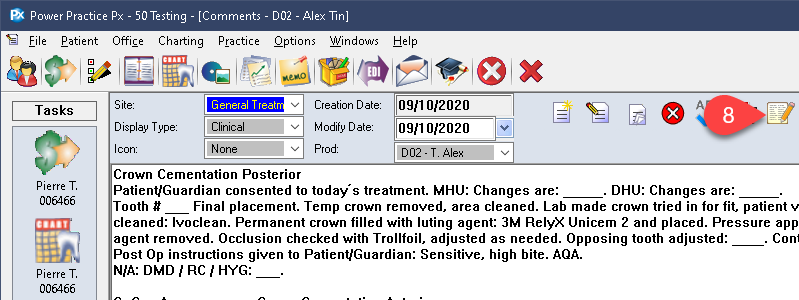
- If you are editing an existing Clinical note, find the Signatures Icon at the top right of the window.
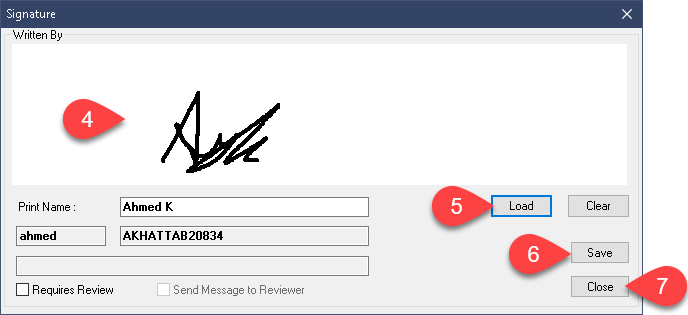
- As previously discussed, you can load or free-hand a new signature before pressing Save and Close.
You also have the option to require a review for your note and even send a prompter message to any user you choose for review. This is discussed in more detail in another article, linked in the Additional Resources section at the end of this article.

