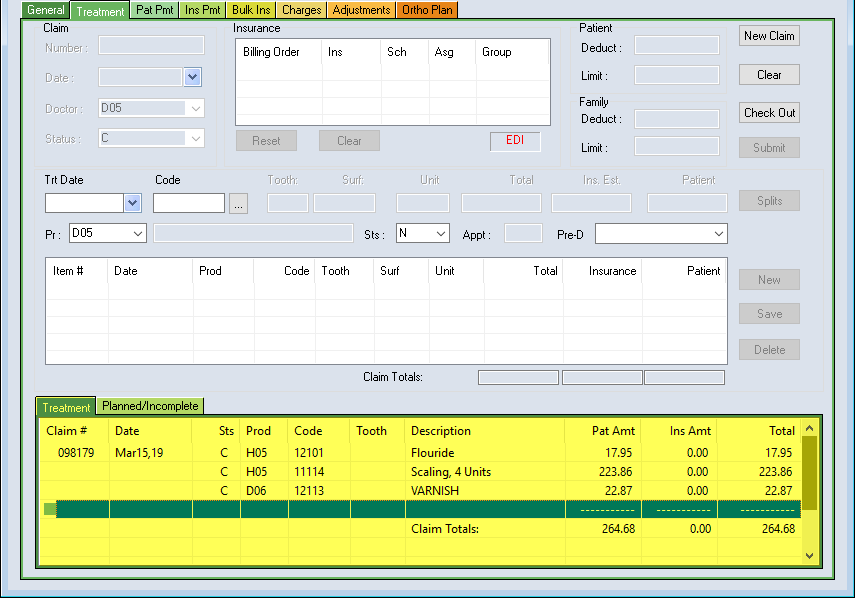
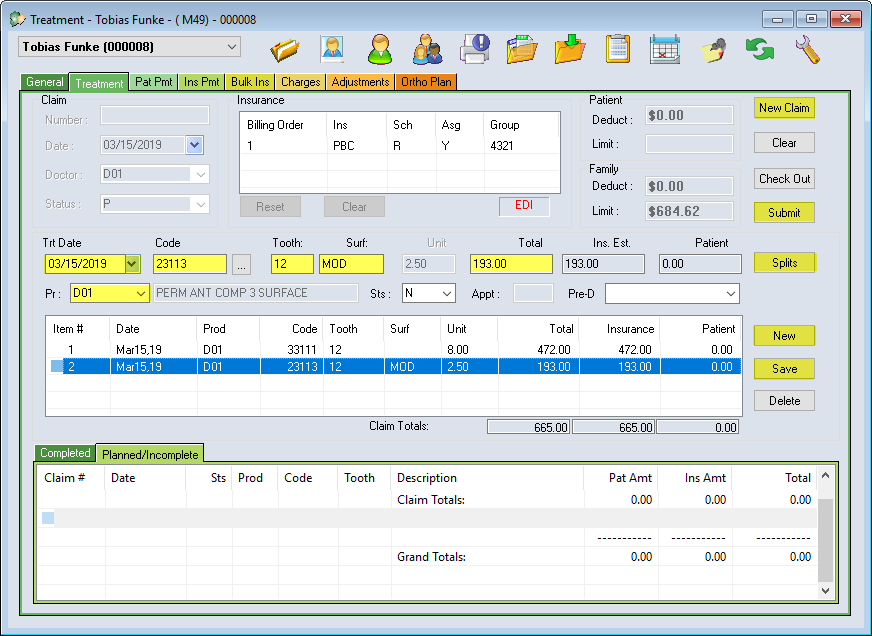
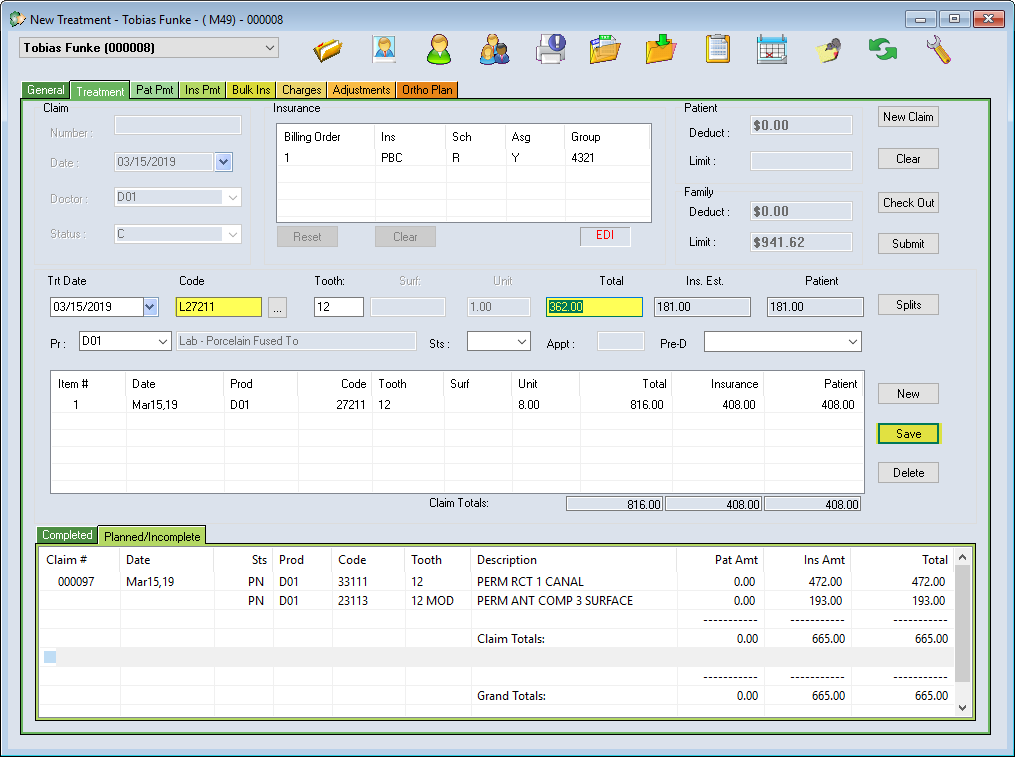
With the Claim fields addressed, we can now discuss the remaining fields and how to build a claim.
Creating a Completed Treatment Claim
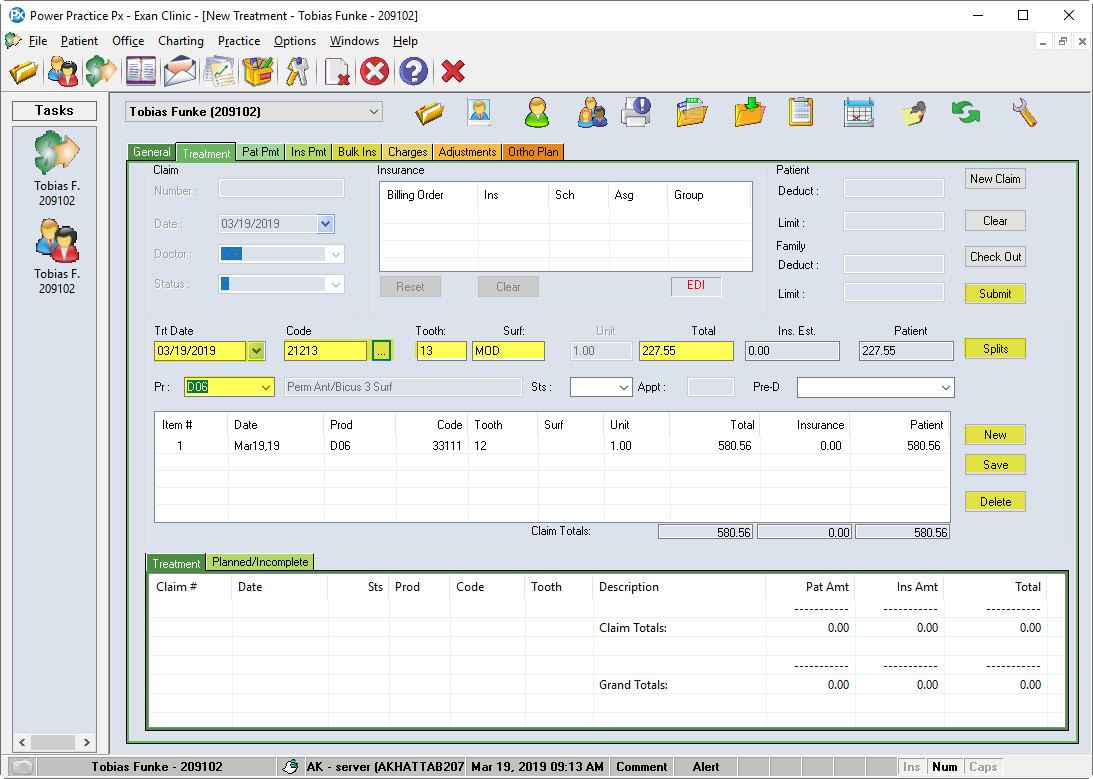
The first field, Trt Date, defaults to today’s date. It is the date on which the Treatment was rendered.
- Enter the Procedure Code, then tab twice to bypass the
 (ellipses) button.
Note: The ellipses box can be used to find a treatment code.
 - Add the Tooth #, and Surfaces if required. Some procedures will require a sextant or arch instead.
- If the patient has an insurance policy on file, the program will split the total cost based on the given coverage percentages set.
Note: The splits provided by Power Practice are not insurance provided estimates. They are based on the category coverage % set on their insurance page.
To adjust splits manually, click on the Splits button. You will also find messages pertaining to the splits in the highlighted box (eg. Deductible added)
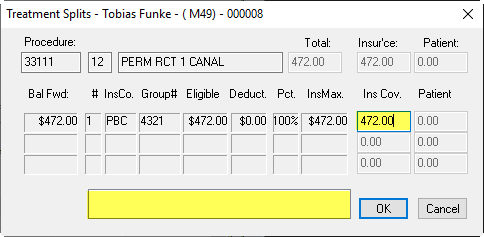
- Procedure costs are based on the Fee Schedule in use. The Total amount can be changed manually, and should affect the Split estimate as well.
- The Pr. drop-down allows you to choose the producer who provided the treatment.
- Click Save.
Note: The treatment is added to the current Claim box and the cursor is automatically returned to the Code field, allowing for quick entry of the next code. - Repeat the above steps until all procedure codes are entered, then review the information listed. If one or more lines are incorrect highlight one line at a time. The information will populate the data fields again allowing you to make the necessary changes (date, procedure code, tooth # and surface, dollar amount or producer). Save to keep any changes made.
Note:Click the Delete button to remove a line, click the New button to add a line. - Click the Submit button. The Treatment Flow window will open giving access to a series of action windows in order to complete the transaction.

- Use the drop-down menus to perform specific tasks as required:
- Update Recalls: Select No in the Update Recalls field if there is a future recall due date displayed. Select Yes if there is no future recall due date displayed. The system will then access the Patient Recall window.
- Submit Claim:Select Yes if printing a Standard Claim Form (Patient to sign). Select No if not submitting to an insurance company. Select EDI if submitting electronically to an insurance company.
- Add Payments: Yes will move you to the Patient Payment screen. No leaves you on the current tab
Click OK to initiate the processes.
You can review the claim you just created by investigating the Treatment sub tab (bottom left).

