Before exploring how to build custom reports, we need to understand what options are available when editing reports.
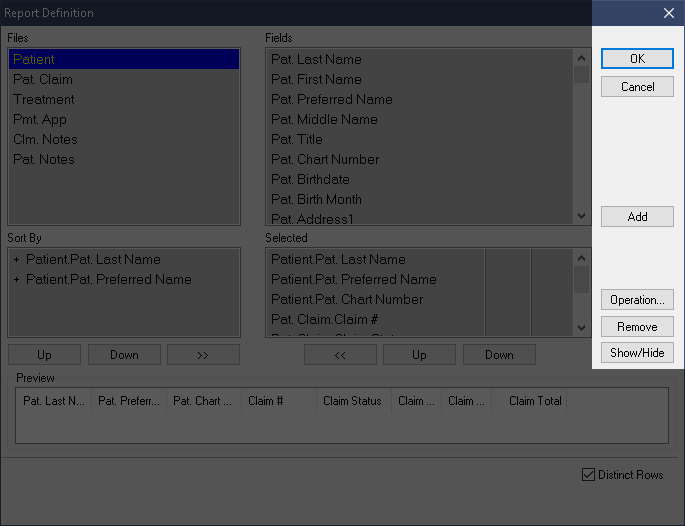
Right click the results/grid area and choose Edit Report.
Before exploring how to build custom reports, we need to understand what options are available when editing reports.
Right click the results/grid area and choose Edit Report.
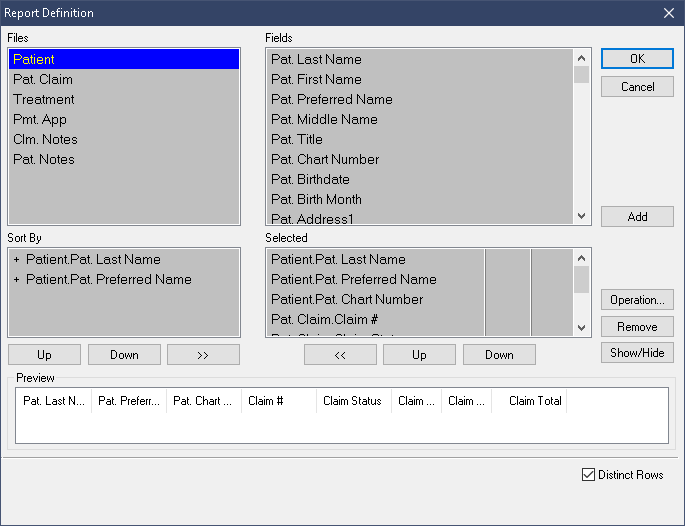
The Edit window is broken down into a few sections, just as the Info Manager module is divided into distinct sections.
Files :
The selections available within this area behave similarly to the Tabs discussed in the previous lessons. Each item listed will link to a different series of related data fields for use in the report. Much like the Tabs from the previous lessons, these are divided logically and corelate directly with the selections in the next box.
Just as the Billing tab and categories filter your available options by excluding unrelated items or categories, so too do the Files restrict and orient your reports.
Take a minute to explore the different Files and make note of the type of data they make available in the next box.
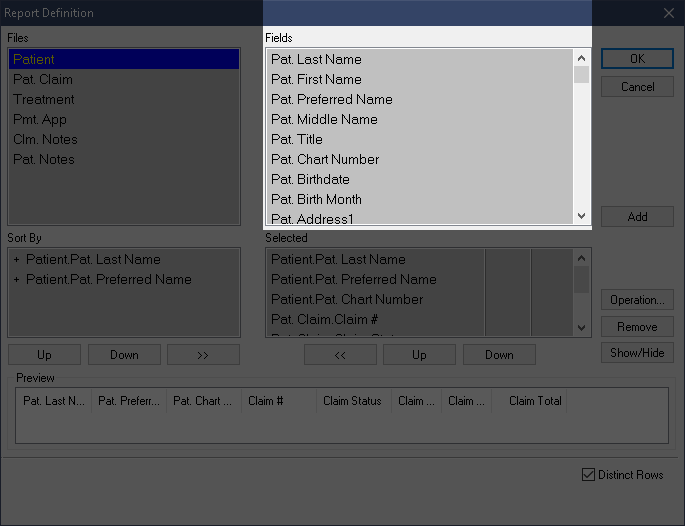
Fields:
The available selections in the Field box can be seen as potential columns under which our results would generate. These are the reportable fields, the items which can be added as columns to our report. Any items double-clicked or added from this section are immediately included in the current report as a new column. These selections are often very straightforward and easy to understand.
Pat. Last Name, for example, will list patient surnames when we generate a report if left unfiltered. If we apply a filter to the column, it will return the results that fit those criteria. Note that Fields will always populate the relevant information if left unfiltered; you can use this to your advantage, generating reports to examine what kind of data each field will return. You can then apply the appropriate filters to refine your results or replace the field if it’s not what you were looking for.
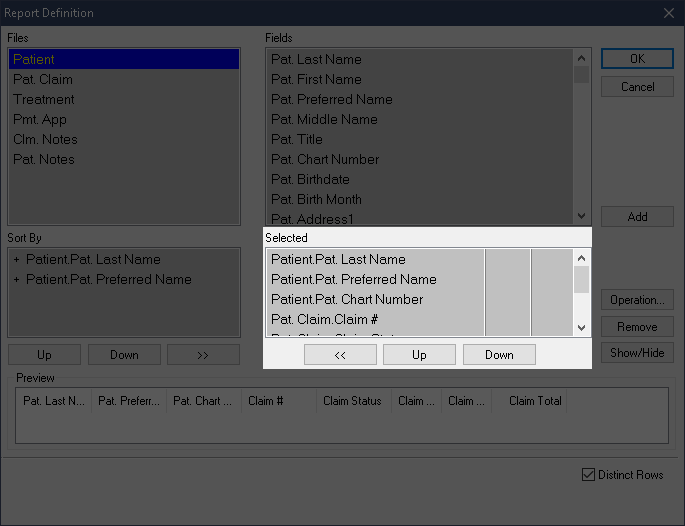
Selected:
The most important box of them all, this section shows the active columns included in the report so far.
Any items listed in the Selected box will be given a column of their own.
The order the items are listed in defines the sorting order of the columns on your report. The first item in the Selected box will also be the first column on the report, with the rest of the columns following the same top-down order; the last item in the selected box will be the last column. You can move the columns around by highlighting a line then using the Up and Down buttons below.
It is important to stress the significance of the Selected box. This is the source of your data, the criteria you are using to find results. Everything discussed so far serves to ensure you have access to all the relevant fields and selections upon visiting this box. Take some time to ensure your Selected box contains all the necessary fields and that it is clear of any irrelevant data fields.
Sort By:
This section determines the sorting order of the report results. It will typically default to the Patient Last name. This means our results will be sorted by Last name (alphabetically), regardless of the report content. This may be helpful in the case of patient list reports but when reporting on the number of times certain treatments were issued, it would make a lot more sense to sort by Treatment Code instead.
To organize items within the Sort By box, use the Up and Down arrows as you did in the Selected box. The << and >> buttons will move the highlighted item in the direction selected.
In the treatment report scenario described above, we would highlight the Treatment code line in the Selected box and add it to the Sort box using the << button. Then use the Up button to move the Treatment code line above all other sorting methods. You can remove the Last and preferred name lines from the sorting order using the >> button, or keep them as secondary and tertiary sorting priorities. Our results would thus be sorted by code number above all else, then by last name and finally preferred name, to the extent it is possible given that the codes are the priority.

The Buttons:
On the right side of the Edit Report window we’ve been working in are a series of buttons.
The Ok button will keep your changes and close the Edit window; Cancel will close the window without saving changes.
The Add button can be used to move items from the Fields box down to the Selected box, but you can also double left-click an item.
Remove will dismiss the highlighted item in the Selected box, taking it out of our report results (removes column).
Show/Hide will toggle between revealing or hiding the column selected.
If you have no use for an item in the Selected box, you should remove it.

Operation:
The Operation button is only accessible if we first highlight an item within the Selected box. The purpose of this button is to allow the application of counting operations on the chosen column.
It is important to note at this point that the Info Manager does not automatically tally results at the end of the page like other reports do. You must set a Total Count Operation on any of the lines within the Selected box. This will be shown in detail during the Example lessons.
You can see the clear divide between Detail and Total operations but they both include the same functions. The image above shows all the possible selections within the Operation button with their descriptions below. The distinction between these two types is clarified after the available selections.
The following selections are only available to Fields/columns that have a numeric value. These cannot be applied to alphabetical results.
Total Operation – When using selections within the Total section, your results will be counted as a whole. This is the best way to get a quick result total on your reports. A Count function can be applied to any item, since it only counts up the number of hits/results. It is highly recommended you apply a Total Count operation on at least one column, as to generate a results total at the end of the report.
Detail Operation – When using selections in this section your results will be counted in like-groups. This is easiest to understand when applying Detail operations to a column like Treatment Codes. The Detail Count operation will present a results total for each treatment code reported on. So if our report was looking for all uses of 62101 and 62501, a detail count will present the total of both individually, instead of all results like Total. You can of course apply a Total Count operation to the very same Treatment Codes line, thus generating a Detail count of each unique code followed by a Total tally of all results in general.
In the image below, you can see the Detail operation providing a tally under the Treat Code column for each bundle of codes. The Total operation will present a total at the end of the report.

For example, the Patient Last Name field will not support anything but Count operations. This function adds up each result and gives a total at the end.
A field like Insurance Payments, by contrast, will allow you to use the full list of functions. This is because the remaining functions can only be applied to results which return numeric values. These kinds of results lend themselves well to addition, averages and a highest/lowest value operations. Fields like Last name that return alphabetical results and can therefore only be counted.
