Description
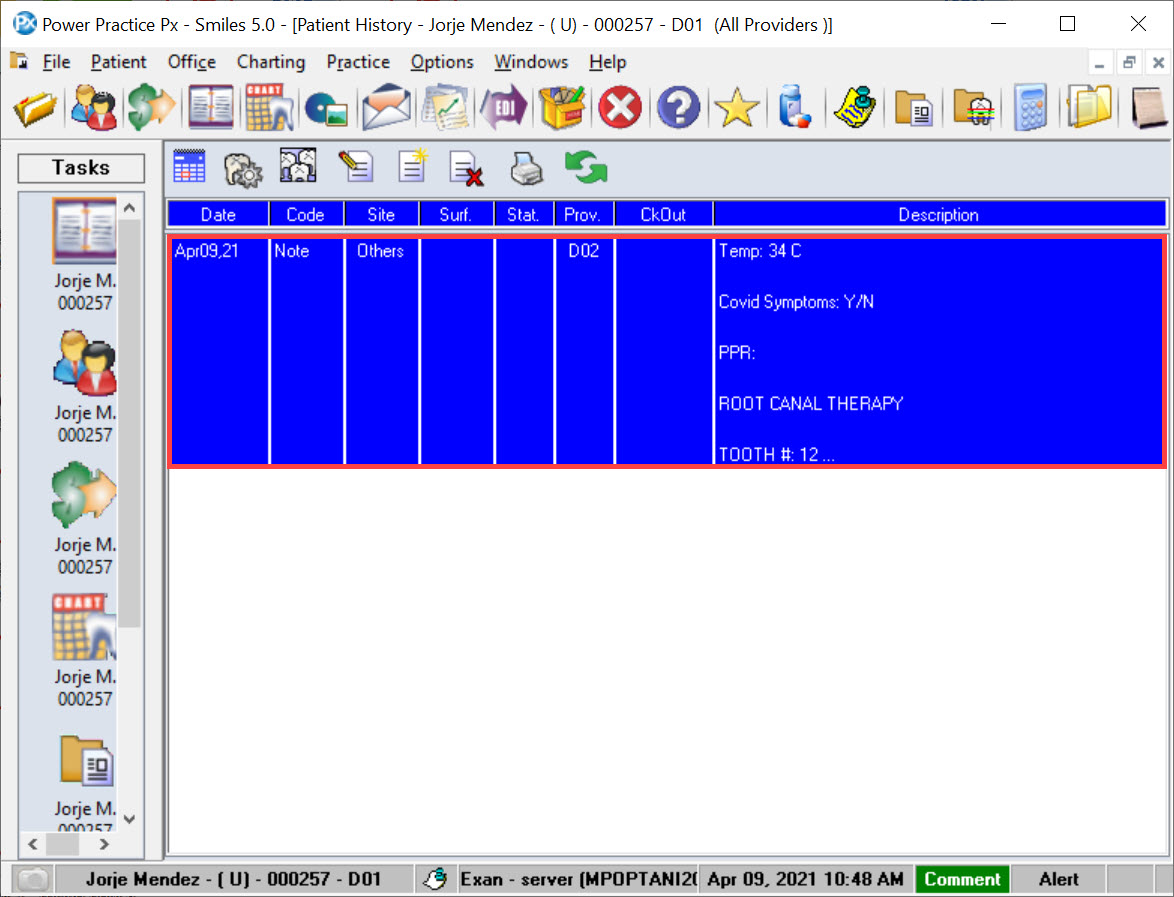
This article is a guide on how to add your templates as notes in your patients’ charts.
Step-by-Step
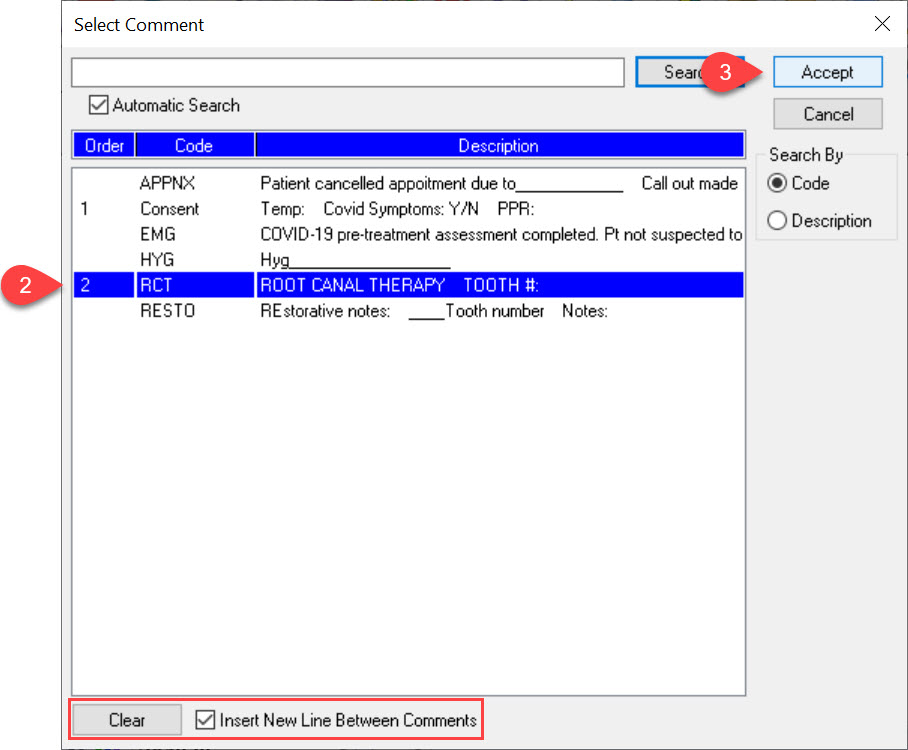
The Select Comment window will pop-up on screen.
- Select you template(s) from the list of templates that you have created.
- Once your selection(s) have been made, select the Accept button located on the top right corner.
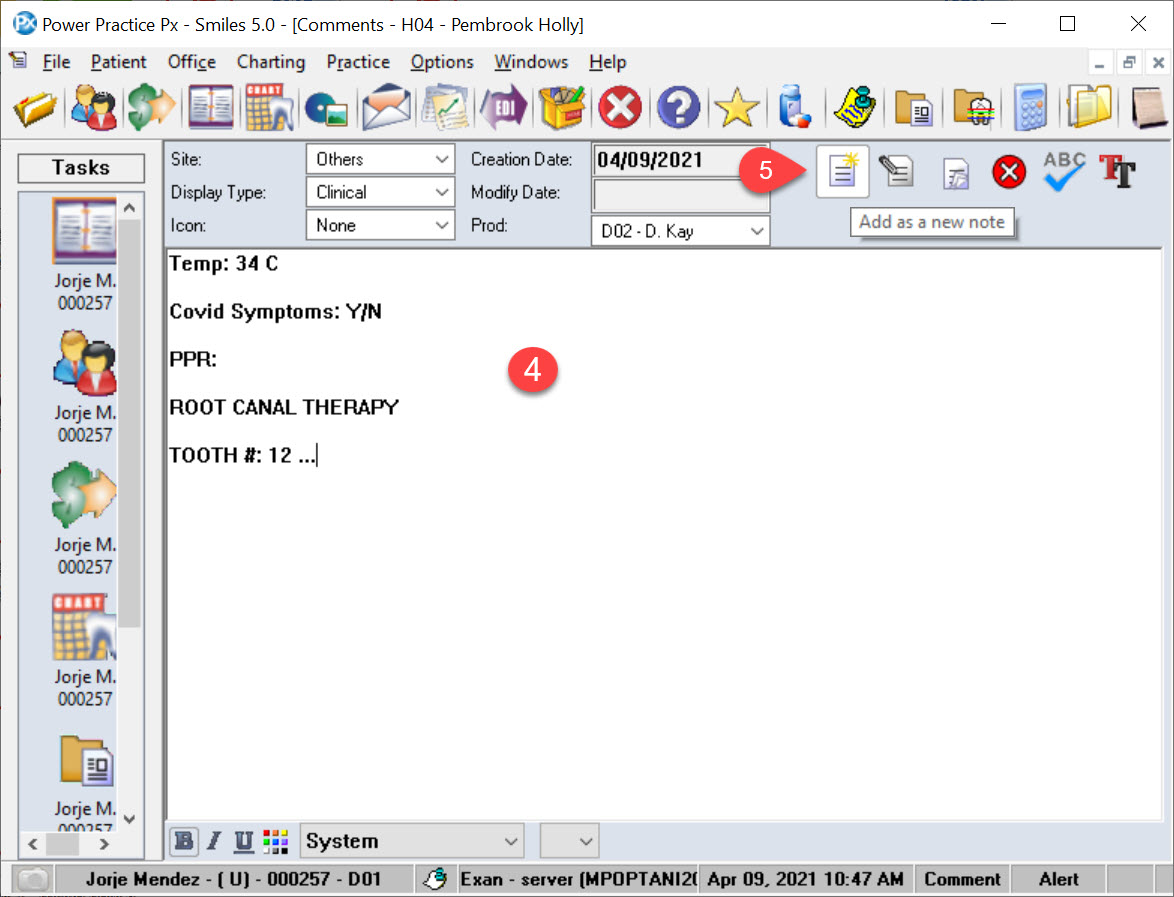
You are able to select more then one template to create a single note. The Order column in the list table will show the sequence of which your templates will appear on the note.
If you make a mistake, you can select the Clear button at the bottom of the Select Comment window and start over.
You can also add a line break between each template by enabling the Insert New Line Between Comments check box next to the Clear button.


